


Lesson 7
In this lesson we will consider how via Tizen Studio create a project for a watch. For guidance how to install the environment, go to the lesson 2.
Open Tizen Studio. Select the folder, in which your projects will be saved. When you run the environment for the first time, it is set up for the Web perspective. In this lesson, we'll show you how to create a native application, so switch Tizen Studio to the Native perspective.
You can create a new project by using a template or by downloading an online example. Let’s create a template. Select File → New → Tizen Project or click on icon Create new project в Package Explorer.
In the window New Tizen Project choose Template. Select profile Wearable - v2.3.1 version. Application type: Native Application.
To see the list of available templates, click Next. Create an empty template of UI application with EDC markup file. Select Basic UI, specify the projects name and the package id. Package id must be unique to identify your application in Samsung Galaxy Apps.
Click Finish.
Thus, you’ve created UI application template with a basic GUI for the wearable device.
After the template was created by the project wizard, you will see Tizen Manifest, in which you can make further application setting up and view general information about the application. The manifest opens with Tizen Manifest Editor. Let's go through its tabs.
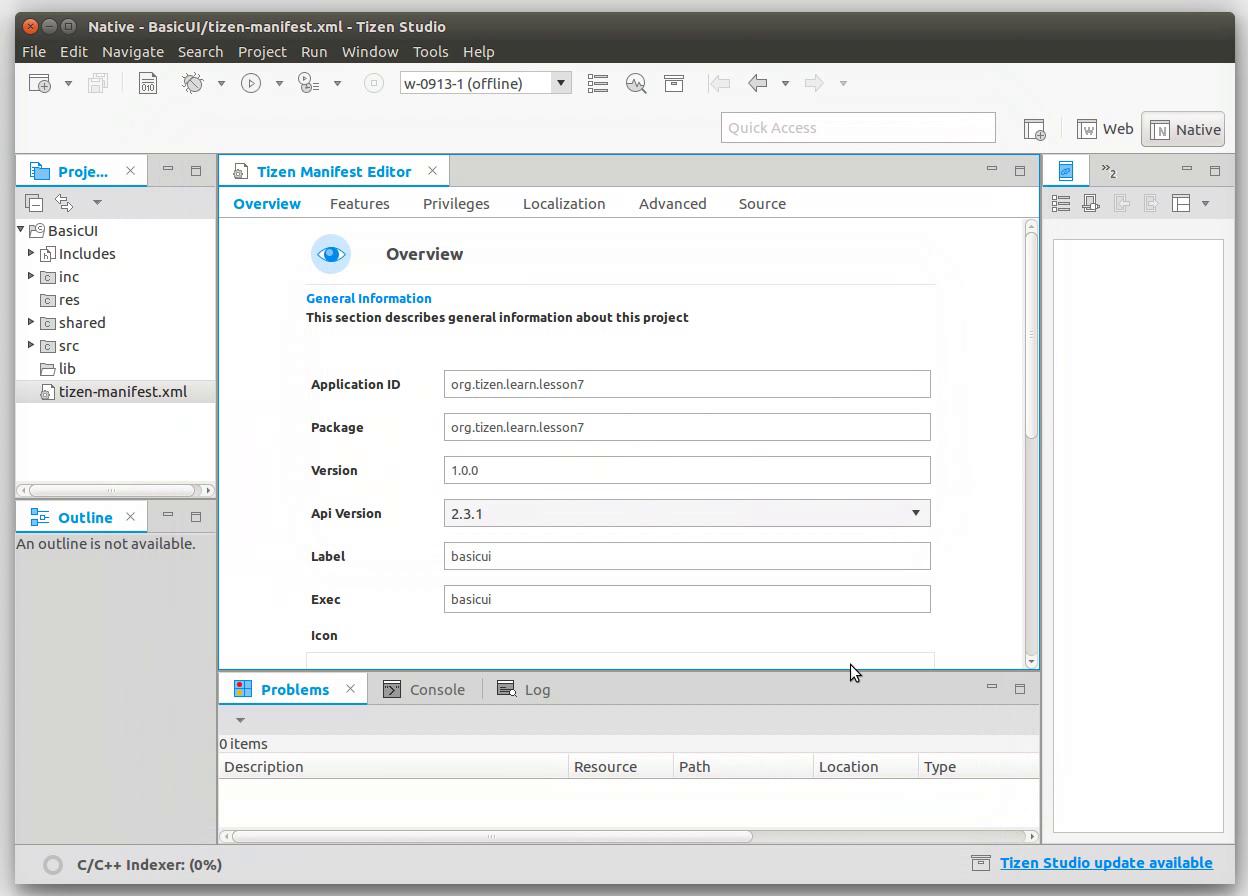
Overview: here you can specify your product version, name of the application shortcut, name of executable file, as well as load icon, leave information about the author and make a description of your application.
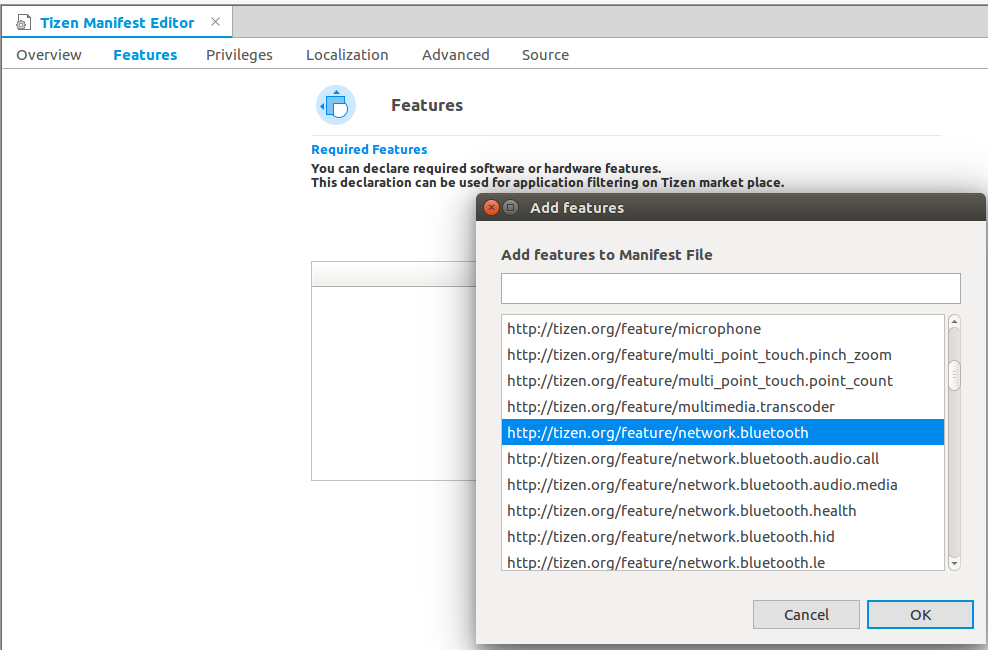
Feature: specify what properties your application has during the runtime. By clicking on the plus button, you will see a list of available software and hardware features: camera, GPS, Bluetooth, etc.; and also, a list of the features used to filter applications on Tizen Store. As a result, in the store your application will be visible only on those devices that have all properties you’ve specified. Also these features will be shown to the user during installation.
Important:
If you had used a feature, but did not specify it in your manifest, you would not be able to place your application in the store, the same applies to the situation, when you had declared a feature, but did not use it in the application.
Privileges: the list of permissions used by your application. For example, if the application works with a network, you should add the appropriate permission. In the description of each Tizen SDK function there is a list of privileges required for its use.
Localization: localization of the name, description and icons of the application.
Advanced: in this tab, you can enter additional information - metadata defined as a pair: key-value.
In the Source tab, you can see the manifest code, as it is - as an xml file.
Let’s consider the project structure. By default, in the projects tree of your workspace, your template is the only project. Open it.
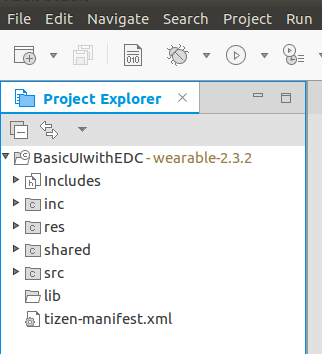
The inc folder is for header files, the src folder is for sources, and the res folder stores the application resources: images, layouts, and so on. During the runtime, this folder has a read-only access mode. The lib folder contains third-party libraries. In the shared folder, with read-write access, you can place resources that will be available to other applications.
Now build your project. To call the context menu, make right-click on the project, select Build Project, or use the hotkey F10. Another option to invoke the build of the application is select in the Project tab → Build Project. Also, you can configure your project to build automatically Project → Build Automatically (the project will be built after each saving). Next step is to run the application on the device Run As → 1 Tizen Native Project, Ctrl + F11, Run → Run. If automatic mode was configured, running of the application initiates its building. How to create an emulator or connect to a device, look at lesson 3 and lesson 4 respectively.
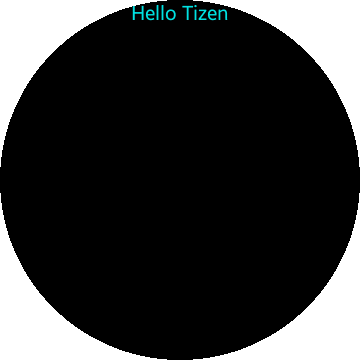
After a successful launching, you will see your first application.
In the next lesson we will tell you about the life cycle of the application, consider the structure of the program, and analyze main events of the application.