Creating Custom Events on Tizen
PUBLISHED
Introduction
In this article I'm going to describe a new API for creating custom events and how to use them inside Tizen application. There've been many ways of creating custom events before HTML5 came to the market, but now things got much easier.
You can simply create a custom event by calling the following line of code:
var event = new CustomEvent('mycustomevent');What it does, is it creates a mycustomevent event instance that can be dispatched in the following way:
document.body.dispatchEvent(event);
You can also add data to the event object by passing it as a second argument of CustomEvent constructor under detail attribute.
var event = new CustomEvent('mycustomevent', {
    detail: {
        time: Date.now(),
        other: 'other'
    }
});

// or

var event = new CustomEvent('mycustomevent', {
    detail: 'some value'
});
This data will be available inside the event handler.
document.body.addEventListener('mycustomevent', function (e) {
    console.log(e.detail);
});
You can't modify another event attributes by passing their name and value in object passed as a second argument of CustomEvent constructor.
Creating Swipe Events
In this section I'm going to describe the process of creating three simple, custom events: swipe, swipeleft and swiperight. The swipe event is triggered whenever swipe left or swipe right happens. It contains two detail attributes, that is direction and distance. The direction is just information about direction in which the swipe occured (left or right). The distance is a value of the distance in pixels from the swipes' start. It's negative for swipe left and positive for swipe right. The swipeleft and swiperight events don't contain information about the direction because they're self explanatory. They contain only absolute values for the distance.
In the picture below, you can see a screenshot from the sample application showing the details about events that happened.
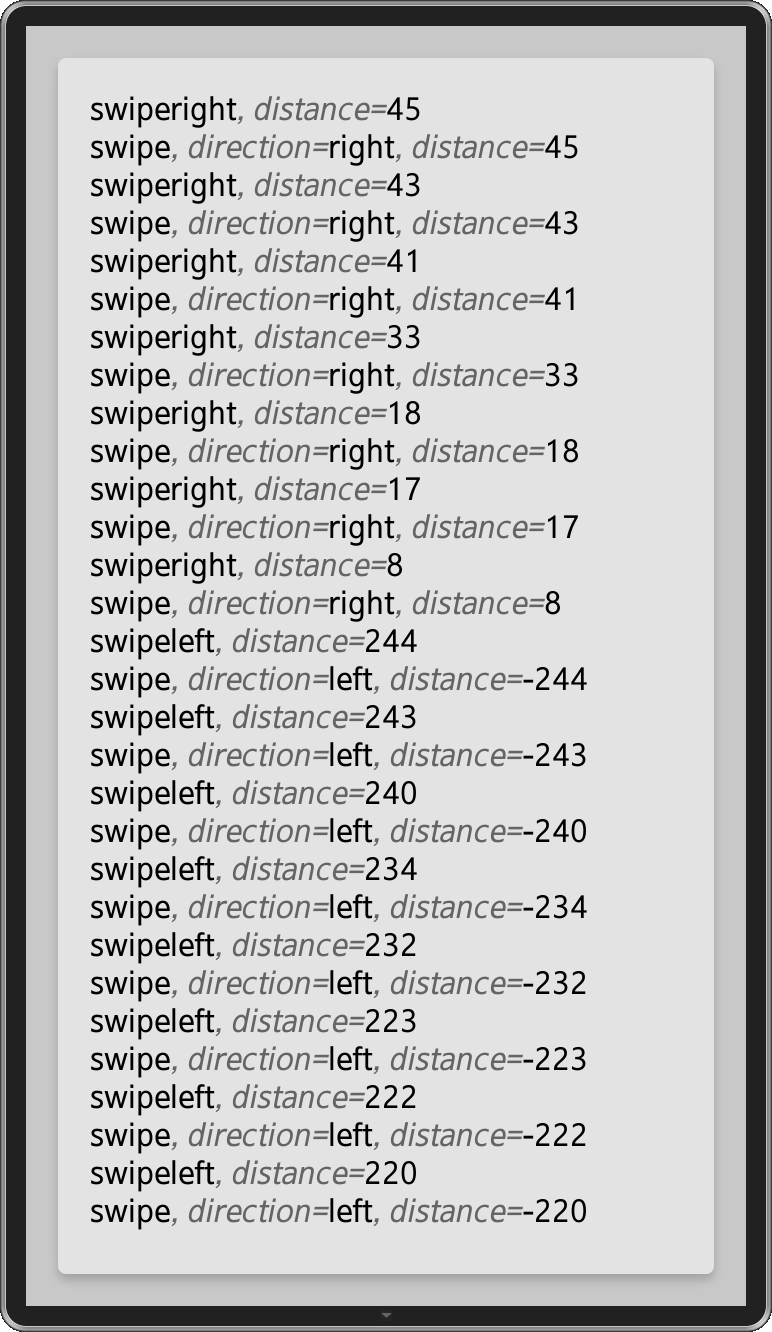
Sample application screenshot
First of all, we will create an initSwipe function that initializes swipe events on the given HTML DOM element.
var initSwipe = function (element) {
    // Code goes here...
};
The only event we register at the initialization level is a touchstart event. We don't need to register other events until the touchstart event happens.
element.addEventListener('touchstart', handlers.touchStart);Now inside the handlers.touchStart handler, we can register other events and get the fisrt (start variable) position of a swipe.
handlers.touchStart = function(e) {
  e.preventDefault();

  start = e.targetTouches[0].clientX;

  element.addEventListener('touchmove', handlers.touchMove);
  element.addEventListener('touchend', handlers.touchEnd);
};
We can also unregister events when we finish swiping.
handlers.touchEnd = function(e) {
  e.preventDefault();

  if (e.targetTouches && e.targetTouches.length > 0) return;

  element.removeEventListener('touchMove', handlers.touchMove);
  element.removeEventListener('touchEnd', handlers.touchEnd);
};
The most important things happen inside handlers.touchMove handler.
handlers.touchMove = function(e) {
  e.preventDefault();

  // Code goes here...
};
The first thing we have to do inside this handler, is to measure the distance that the finger traveled on the screen and check if this distance changed since the last touchmove event.
var distance = e.targetTouches[0].clientX - start;
if (distance === 0 || distance === prevDistance) return;
prevDistance = distance;
The next thing to do, is creating custom swipe event and dispatching it on the element.
var swipe = new CustomEvent('swipe', {
  'detail': {
    'direction': distance < 0 ? 'left' : 'right',
    'distance': distance
  }
});
element.dispatchEvent(swipe);
The Next thing is creating a swipeleft or a swiperight event, depending on the direction of the swipe.
if (distance < 0) {
  var swipeLeft = new CustomEvent('swipeleft', {
    'detail': {
      'distance': Math.abs(distance)
    }
  });
  element.dispatchEvent(swipeLeft);
} else {
  var swipeRight = new CustomEvent('swiperight', {
    'detail': {
      'distance': distance
    }
  });
  element.dispatchEvent(swipeRight);
}
That's all you have to do to provide swipe events. Now you can easily attach event handlers to your swipe events.
document.body.addEventListener('swipe', handler);Summary
I hope this article helped you understand how custom events are created and now you will be able to create you own, more complicated events.