Aloha WYSIWYG Editor
PUBLISHED
execCommand(String aCommandName, Boolean aShowDefaultUI, String aValueArgument)
Introduction
With the advent of HTML5, some new features have appeared that could potentially diminish the importance of visual editors like TinyMCE or CKEditor. The feature is called Content Editable. It introduces a HTML attribute with the same name: “contenteditable”. When set to true, it turns any given DOM element into a content editor. When you click on the area of a given element, the cursor will appear and you will be able to add, modify or remove content just by typing on physical (on desktop) or virtual (on mobile) keyboard. The Tizen OS supports this feature and the virtual keyboard will appear on the screen when editing an element with the “contenteditable” attribute.
More on contenteditable
The “contenteditable” attribute only provides a way to change an element’s content by typing. If you want greater control over the HTML content of the element you have to get familiar with the “document.execCommand” function. It allows the execution of some functions on the content of the element like making text bold, italic or underlined, changing the font color, family etc. You can execute most of the functions of the standard text editor.
execCommand(String aCommandName, Boolean aShowDefaultUI, String aValueArgument)
The function takes three arguments, where the first one is the command name to execute. It can be one of the following: backColor, bold, contentReadOnly, copy, createLink, cut, decreaseFontSize, delete, enableInlineTableEditing, enableObjectResizing, fontName, fontSize, foreColor, formatBlockas, forwardDelete, hiliteColor, increaseFontSize, indent, insertBrOnReturn, insertHorizontalRule, insertHTML, insertImage, insertOrderedList, insertUnorderedList, insertParagraph, italic, justifyCenter, justifyFull, justifyLeft, justifyRight, outdent, paste, redo, removeFormat, selectAll, strikeThrough, subscript, superscript, underline, undo, unlink, useCSS, styleWithCSS. You can find more information about them here.
The second one is a flag that indicates whether to display the user interface related to the given command. User interface can be displayed when dealing with tables. However it’s not fully implemented so you shouldn’t rely on it.
The third argument is a value associated with the given command. For example when creating a link using the “createLink” command you have to pass an URL address as the third argument of the execCommand function.
Aloha Editor
The Aloha Editor is one of the first HTML5 WYSIWYG editors that allows complete text and HTML code editing in browser. The editor is used by many companies in many products like WordPress, Drupal, Typo3 or MeteorJS. The base principle behind Aloha Editor is editing content in place. You just click on any given element in the website and the editor’s interface show up. Now you can modify it with no hassle.
The standard Aloha interface looks like in the picture below.

Standard interface of the Aloha Editor
Of course you can customize its UI to fit your needs. We will discuss it later in this section.
First you have to download the Aloha Editor from the official website or use the CDN hosted version. The editor has a few dependencies but it loads them automatically using Require.js, so the only library that you need to attach is Require.js. The code for including all the needed files is presented in the listing below.
<head>
  <meta charset="utf-8">
  <title>JS Bin</title>
  <!-- Require.js -->
  <script type="text/javascript" src="/aloha/lib/require.js"></script>
  <!-- Aloha library -->
  <script src="/aloha/lib/aloha.js" data-aloha-plugins=""></script>
  <!-- CSS styles -->
  <link href="/aloha/css/aloha.css" rel="stylesheet" type="text/css" />
</head>
As you can see in the SCRIPT element including the aloha.js file, we have an empty attribute: data-aloha-plugins. By filling this attribute you can customize the Aloha toolbar. You can also customize it from JavaScript. All possible configuration options are available here http://aloha-editor.org/guides/ui.html#configuration.
Now having prepared everything, we have to initialize the editor on an element we want to edit. To do so, we have to get the element using jQuery provided with Aloha and execute the “aloha” function on this element. We do it mostly inside the “Aloha.ready” function to make sure that all the files have been loaded.
Aloha.ready(function() {
  var $ = Aloha.jQuery;

  $('.editable').aloha();
});
Now when we click on a given element, a yellow border will appear around that element and the editor toolbar will show up above it.
Sample application
We’ve prepared a sample application to demonstrate how the Aloha editor can be used in a Tizen application. You can see what the application looks like in the pictures below.
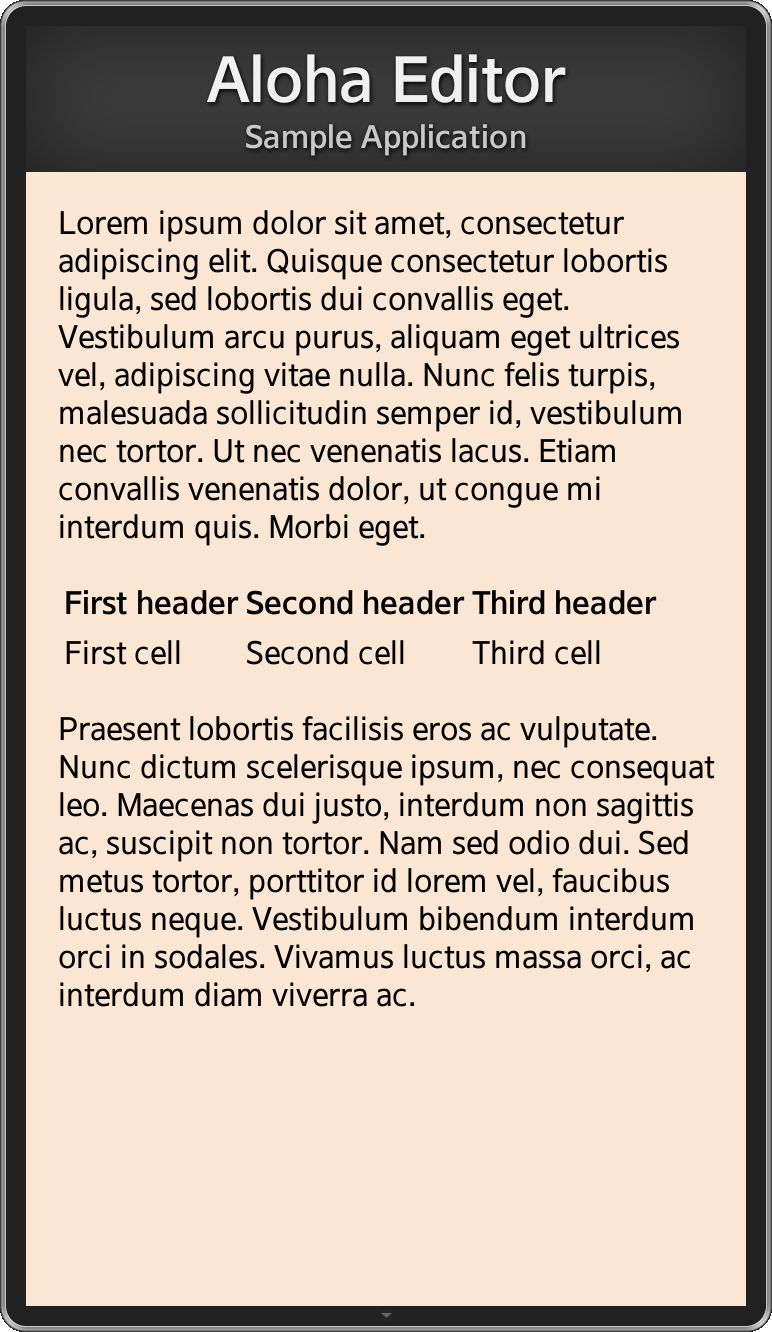
Screenshot of the sample application.
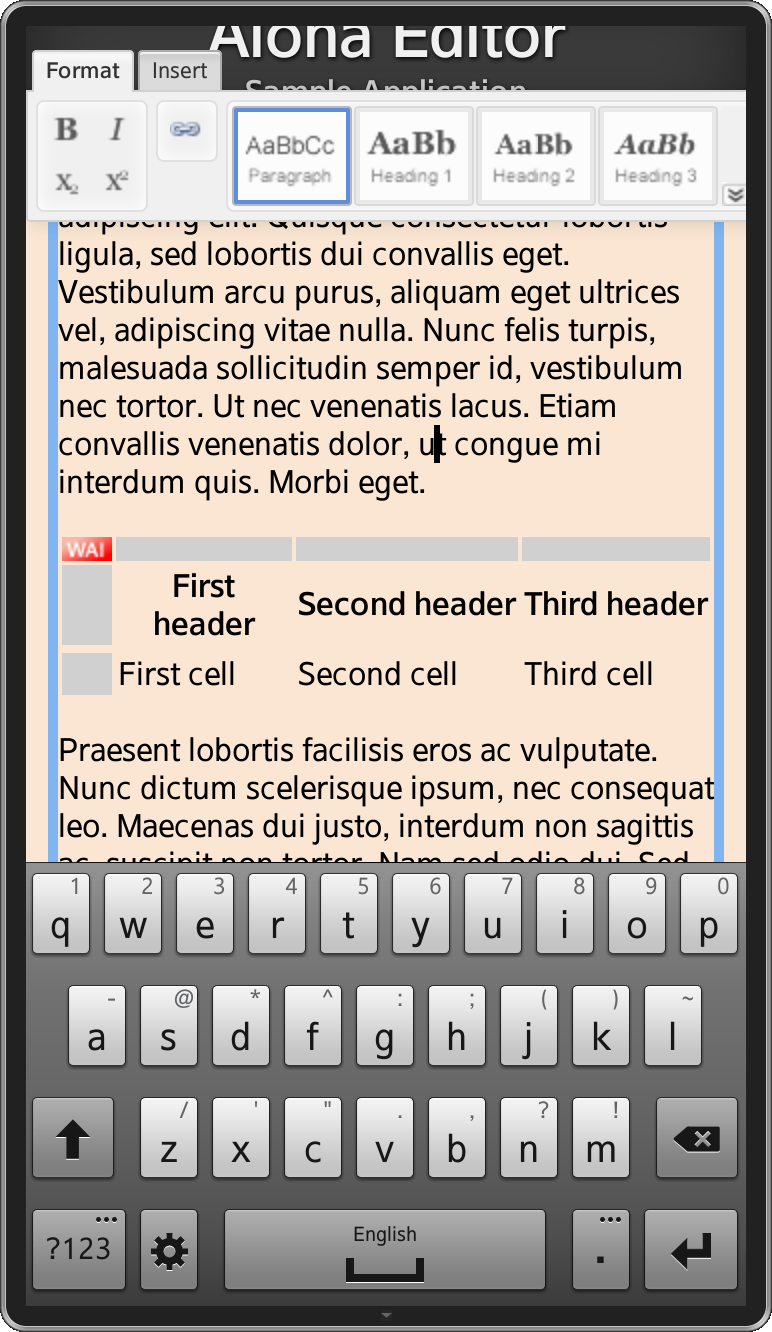
Screenshoot of the sample application in editing mode.
The application is quite simple and most of it could be done after reading this article up to this point. However we’ve added the possibility to store changes of content in local storage, so that you would be able to work on the content later without losing changes you’ve already made.
Aloha.ready(function () {
 var $ = Aloha.jQuery,
   editor = $('#editor');

 var content = localStorage.getItem('content') || '<p>Lorem ipsum ...</p>';

 editor.html(content);
 editor.aloha();

 editor.on({
   'blur': function () {
     localStorage.setItem('content', editor.html());
   }
 });
});
As you can see in the first lines, we get an instance of jQuery that had been provided with Aloha. We then grab the element that is going be our main editor (#editor). As we said, the content of the editor is stored in localStorage so we get an item named “content” and if it’s null then we set the “content” variable to default HTML code that should appear in the editor. We can now put given HTML code inside our editor and run the “aloha” function which will initialize the Aloha editor on that element. One more thing we have to do is storing the content of the editor when we finish editing. We can handle the “blur” event on the editor, get the HTML code and save it in localStorage.
In the sample application we also disabled the sidebar which is visible by default.
Aloha.settings = {
 sidebar: {
   disabled: true
 }
};
Summary
This article is just an introduction to the Aloha Editor and its usage in Tizen applications. You can find more details on the official Aloha Editor website. For now there is no mobile editor version and some features don’t work correctly. However it should meet all your basic needs concerning a WYSIWYG editor.