Image Slide Show Tutorial - Using HTML5/JavaScript
PUBLISHED
Image Slide Show Tutorial
Overview
In this tutorial we'll learn how to impliment slide show for images using the JavaScript. There are many different ways to achieve the same functionality or behaviour. The sample application in discussion here, impliments a basic slide show functionality with just slide show play and Pause features.
The basic intended operation is to display all images one after each with some pre-determined amount of time interval in between each image display. In our application we have choosen the time interval as two seconds.
The sample application is based of Tizen web UI framework.
SlideShow Script
Firstly, we need to create and initialize the array with the image names (with entire file location). And this function is invoked on page ready event. Here is how its done in our sample application.
// Array to Store all the image file locations
var imageSourceArray = new Array();
Initialize the array with the image path,
// stores all image names(with entire file path) onto an array
function initImages() {
	console.log("initImages() called");
	imageSourceArray[imageIndex++] = new addImageFile(imageSourceDir + "pic1.png");
	imageSourceArray[imageIndex++] = new addImageFile(imageSourceDir + "pic2.png");
	imageSourceArray[imageIndex++] = new addImageFile(imageSourceDir + "pic3.png");
	imageSourceArray[imageIndex++] = new addImageFile(imageSourceDir + "pic4.png");
	imageSourceArray[imageIndex++] = new addImageFile(imageSourceDir + "pic5.png");
	imageSourceArray[imageIndex++] = new addImageFile(imageSourceDir + "pic6.png");
	totalImages = imageSourceArray.length;
	console.log("Total "+ totalImages+ " images added");
	setInitialImage();
}
The function "addImageFile" creates a new object and assigns the image name (file path) to the src attribute (a file path is created for every image).
// Function to add the image file to the array
function addImageFile(imageSourcePath) {
    this.imageFile = new Image();
    this.imageFile.src = imageSourcePath;
}
Similarly, we have below function which returns the file path for a given image object.
// Function to get the image file path
function getImageFileSourcePath(imageObj) {
    return(imageObj.imageFile.src)
}
Now, let's look at the function which is resposible for getting the image info (file path) and rendering each image with a defined time interval in between each display and stops the slide show at the first image it started. The function recieves the property "name" of the <img> tag where the image is to be linked to.
The same function is invoked, untill all the images are rendered. And this is done using the JavaScript Timing Event handling method "setTimeout", i.e a function is executed once, after waiting for the specified time interval.
// Function for slide show
function ImageSlideShow(layoutPos) {
	console.log("ImageSlide() called");
	// Loop to process all the images
      if ( Imageprocessed < totalImages ) {
	   Imageprocessed++; // Image processed counter
	   var nextImage = getNextImageToShow(); // Get the next image to be displayed
	   document[layoutPos].src = nextImage; // Set the image source as new image
	   var SlideShow = "ImageSlideShow('"+layoutPos+"')";
	   // Set the time interval to call the slideshow function
	   tID = setTimeout(SlideShow, timeInterval);
       }
      else  {
    	// All images are processed,so reset the counter to Zero
	    Imageprocessed=0;
	    imageIndex=0;
	    console.log("All images processed..");
	    return ;
       }
 }
In the above function , you can observe that the function getNextImageToShow gets the next image file path to be displayed. For that the image index should be known in the array, the index is the result of the expression (imageIndex+1) % totalImages. And the resultant index provides the array element for which the image path is needed and the same is passed as an parameter to the function getImageFileSourcePath.
// Gets the next image file to be shown
function getNextImageToShow() {
	console.log("getNextImageFile() called");
	imageIndex = (imageIndex+1) % totalImages;
	var image = getImageFileSourcePath(imageSourceArray[imageIndex]);
	return(image);
}
Pause SlideShow
You can anytime stop the slideshow using the Pause option provided. The clearTimeout method is used to stop the execution of the function ImageSlideShow, which is defined in the setTimeout method.
// Function to pause the slide show
function pauseSlideShow() {
	console.log("PauseShow() called");
	clearTimeout(tID);
}
UI Control Options for SlideShow
The application provides Pause and Slideshow buttons on its footer along with the More (for other supported functionalities) and back options.
The <img> tag is placed in content and the height and width of the image is set in CSS.
  <div data-role="content" id="myDiv">
    <img name="imagehere" src="" id="ImagePage">
  </div><!-- /content -->
<div data-role="footer" data-position="fixed" id="footerid">
<a href="#pop_js" data-role="button" data-icon="naviframe-more" data-transition="slideupfade" data-rel="popup"></a>
<div id="pop_js" data-role="popup">
<ul data-role="listview">
<li><a href="#" onClick="ImageSlideShow('imagehere')" data-rel="back">Slide Show</a></li>
<li><a href="#" data-rel="back">Set As</a></li>
<li><a href="#" data-rel="back">Favorites</a></li>
</ul>
</div>
<div data-role="button" data-inline="true" data-style="circle" onClick="pauseSlideShow()">Pause</div>
<div data-role="button" data-inline="true" data-style="circle" onClick="ImageSlideShow('imagehere')">Slide Show</div>
</div><!-- /footer -->Snapshot:
Below are the snapshots from the sample application.
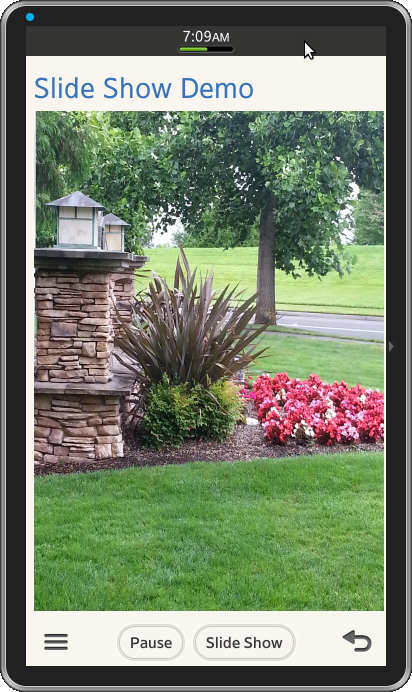
Picture 1: Shows the application's home page
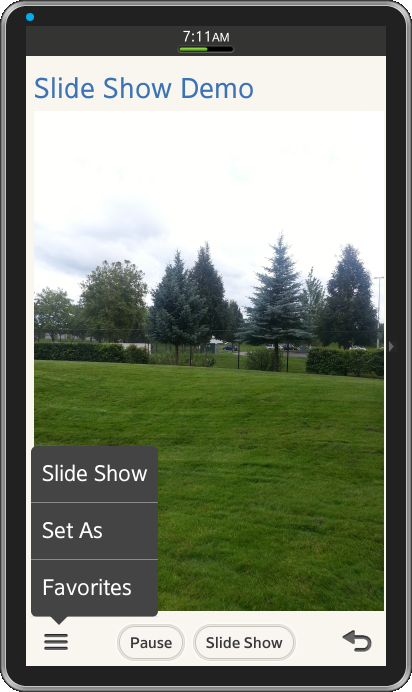
Picture 2: Shows the menu options of the application.
Development Environment:
Tizen SDK
Version : 2.1.0
Build id : 20130416-1439
Note:
The sample application is available for reference (See under File Attachment section).