Installing Tizen Studio
PUBLISHED
The installer has been renewed to provide a better user experience and show the unique Tizen philosophy. Using the new installer, you can now install the basic platform and the useful tools with a few clicks.
You can use either the GUI or the CLI version of the installer.
Using the GUI Installer
To install Tizen Studio:
- Launch the Tizen Studio installer.
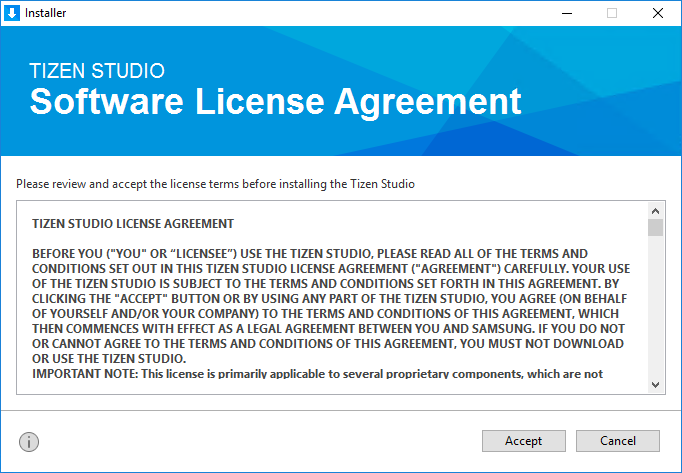
- Accept the software license.
The license contains important legal notices for using Tizen Studio. Read it fully, and click Accept only if you agree with the license statement:

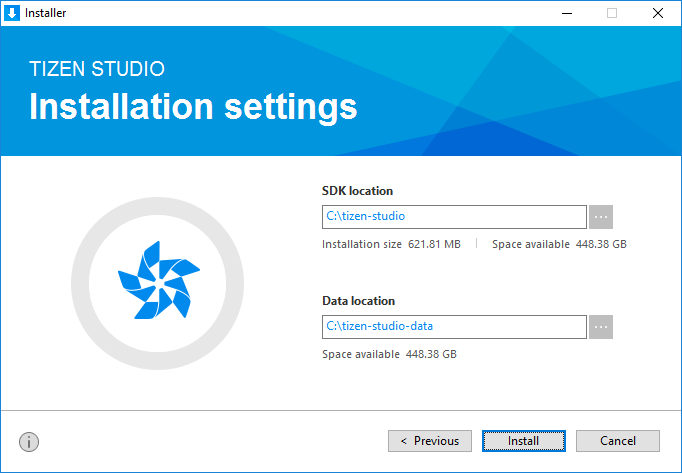
- Click the ... button and specify a new directory to set the SDK and data location. If the new directory is valid and shows no errors, click Install:

- Click Install to install the required packages and tools in the specified directory.
You can monitor the installation process or cancel the installation. The installation process is completed in a few minutes, unless you cancel it.
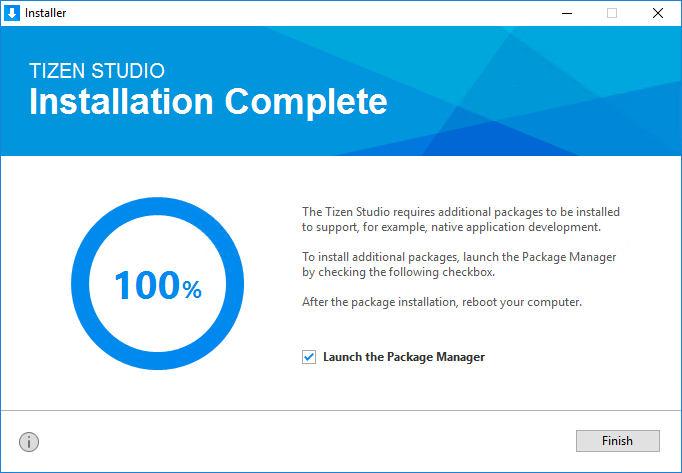
- Click Finish and close the installer:

If you want to install additional platforms and tools, launch the Package Manager by checking the Launch the Package Manager check box and click Finish.
Using the Tizen Studio Package Manager, you can install and update additional tools. For more information on the Package Manager, see Updating Tizen Studio.
C:\Program Files, administrator privileges are required to run the Tizen SDK tools.Using the CLI Installer
The CLI (command line interface) provides functional tools for running the CLI installer without the GUI environment.
To install Tizen Studio using the CLI installer:
- Download the appropriate CLI installer for your platform.
- Run the CLI installer:
- On Microsoft Windows®, the command prompt opens and the installer is automatically executed.
- On Ubuntu and macOS, open the terminal, go to the directory where the installer is downloaded, and enter the
chmod +xcommand to apply the execute permission to the installer file. Then, execute the installer by entering the command with the following syntax:
web-cli_Tizen_Studio_<version> [options] [<directory path>]
Table: Install options
Option Description --show-licenseDisplays the Tizen Studio software license agreement. You must use this option alone. Do not use with other options.
--accept-licenseAccepts the license terms. --no-java-checkSkips the Java version check. Table: Install command parameters
Parameter Description directory pathSpecifies the installation directory path. If you do not enter the path, Tizen Studio is installed in the default directory (
/home/{user}/tizen-studio).
- If you agree to the software license and the license terms, enter Y(yes) for the conditions.
- Enter the Tizen Studio installation location.
The CLI installer begins to install the Web App Development platform and tools on your computer.
If you want to develop a native application on the CLI, you must install the Native App Development platform and tools using the CLI Package Manager.
Installing Additional Packages with CLI
Run the CLI Package Manager with the install command using the following syntax:
package-manager-cli install [--accept-license] [--no-java-check] [--proxy <value>] [-f <file path>] [-p <password>] <package name>[,...]
Table: Install command parameters
| Parameter | Description |
|---|---|
--accept-license |
Accepts the license terms. |
--no-java-check |
Skips the Java version check. |
--proxy <value> |
Proxy configuration value. Use one of the following values: direct, auto, or ip:port. |
-f, --file <file path> |
If you want to install packages from a local SDK image, specify the full path of the SDK image file. |
-p, --password <password> |
Administrator (sudo) password for authentication. Ubuntu only. |
<package name>[,...] |
Name of the package you want to install. You can enter multiple package names (such as NativeIDE and Emulator).
To retrieve the names of installable packages, use the following command: package-manager-cli show-pkgs |
