Multi-touch in Web Applications
PUBLISHED
Introduction
With the introduction of multi-touch smart phones a need for implementation of the multi-touch API in HTML5 emerged. W3C started working on implementation of touch API in 2011 and the final version was published in October 2013. The API is quite simple and we will investigate it in details.
New attributes
As you can expect, touching screen with a finger or a stylus generates an event that can be handled by a programmer. Such event comes with additional information about the touch. It has standard event’s attributes like type, altKey, ctrlKey, shiftKey, target, pageX, pageY etc. but also three more touches, targetTouches and changedTouches. Let’s discuss each of them:
- touches – a list of all contact points currently touching the surface of the screen, including points outside of the element to which event listener was added.
- targetTouches – a list of contact points currently touching the surface of the screen, but only for the element to which event listener was added. When touch point started in the element to which event listener was added and then has been moved outside of this element, it will still be tracked and point’s position will be included in targetTouches list.
- changedTouches – a list of all contact points whose position or state changed, including points outside of the element to which event listener was added.
Each touch point consists of X and Y coordinates that are stored in a few attributes:
- clientX and clientY – coordinates of touch point relative to the viewport (does not include scroll offset),
- pageX and pageY – coordinates of touch point relative to the viewport (includes scroll offset),
- screenX and screenY – coordinates of touch point relative to the screen.
Touch events
With Touch API, we get four new events: touchstart, touchmove, touchend, touchcancel which are official standard. Let’s examine each of the events:
- touchstart – triggered when the finger (or other touch element) has touched the screen,
- touchmove – triggered when finger (or other touch element) has been moved along the surface of the screen,
- touchend – triggered when finger (or other touch element) has been removed from the surface of the screen,
- touchcancel – triggered in specific situations that differ from browser to browser and from platform to platform. In Tizen OS, it is triggered when user long-presses a DOM element, such as text or image.
Some browsers or JavaScript libraries can introduce two more events touchenter and touchleave but they aren’t part of the standard.
Usage
First thing we have to do is adding event listener to the element that should receive touch events. We do it using addEventListener function.
var canvas = document.getElementById('canvas');
canvas.addEventListener('touchstart', function (e) {
    e.preventDefault();
}, false);
The first argument is event name and the second is event handler which will be executed when event occurs. The third argument is flag indicating if given element should receive this event type before any other element beneath it in the DOM tree. Handler function gets as a first argument event object which includes touch points lists.
If we want to deal with a touch event, one thing that we definitely should do is preventing default behavior. If we don’t do it, we can get unexpected behavior like scrolling or zooming viewport with fingers' touch.
We can design our own touch gestures,.For example, when we want to recreate pinch and zoom gesture, we need to check whether we touch screen with two fingers and if the distance between those fingers increased. Sample code should look like this:
var prevDistance = 0;
var handler = function (e) {
    e.preventDefault();

    if (e.touches.length === 2) {
        var a = {
            x: e.touches[0].pageX,
            y: e.touches[0].pageY
        };
        var b = {
            x: e.touches[1].pageX,
            y: e.touches[1].pageY
        };
        var currDistance = Math.sqrt(Math.pow(b.y - a.y, 2) + Math.pow(b.x - a.x, 2));
        var zoomIn = prevDistance < currDistance;
        prevDistance = currDistance;
        document.body.innerHTML = currDistance + ' ' + (zoomIn ? 'ZOOM IN' : 'ZOOM OUT');
    }
};
window.addEventListener('touchstart', handler, false);
window.addEventListener('touchmove', handler, false);
window.addEventListener('touchend', handler, false);
As you can see, we have to store the previously calculated distance between two fingers (prevDinstance). We add event listeners for touchstart, touchmove and touchend events. Event handler checks if we have exactly two touch points and stores that points for further calculations. We use standard mathematical formula for calculating distance between two points and we check if this distance is larger or smaller than previously measured. It’s the simplest approach, more accurate would require calculating angle between points and middle point between two touch points. The middle point can be used to set anchor point to which we should zoom in or zoom out. The angle can help you, if you want rotate the viewport.
Touch Test Application
The best way to understand how touch events work is to run test application. The TouchTest application is divided into two sections: top and bottom. Each section handles touch events and prints out in its area details (touches, targetTouches and changedTouches points) about event that occurred. In the picture below you can see the application screenshot.

TouchTest application screenshot
Run the test application and observe how touch points are changing while touching screen with the fingers, and what events are triggered in different situations.
Sample application
There is also attached a sample application attached to this article. It demonstrates usage of touch events. The sample application is a simple Pong game. To not use external rendering engines it’s made using a few DOM elements instead of rendering it on canvas. In the picture below, you can see application screenshot.
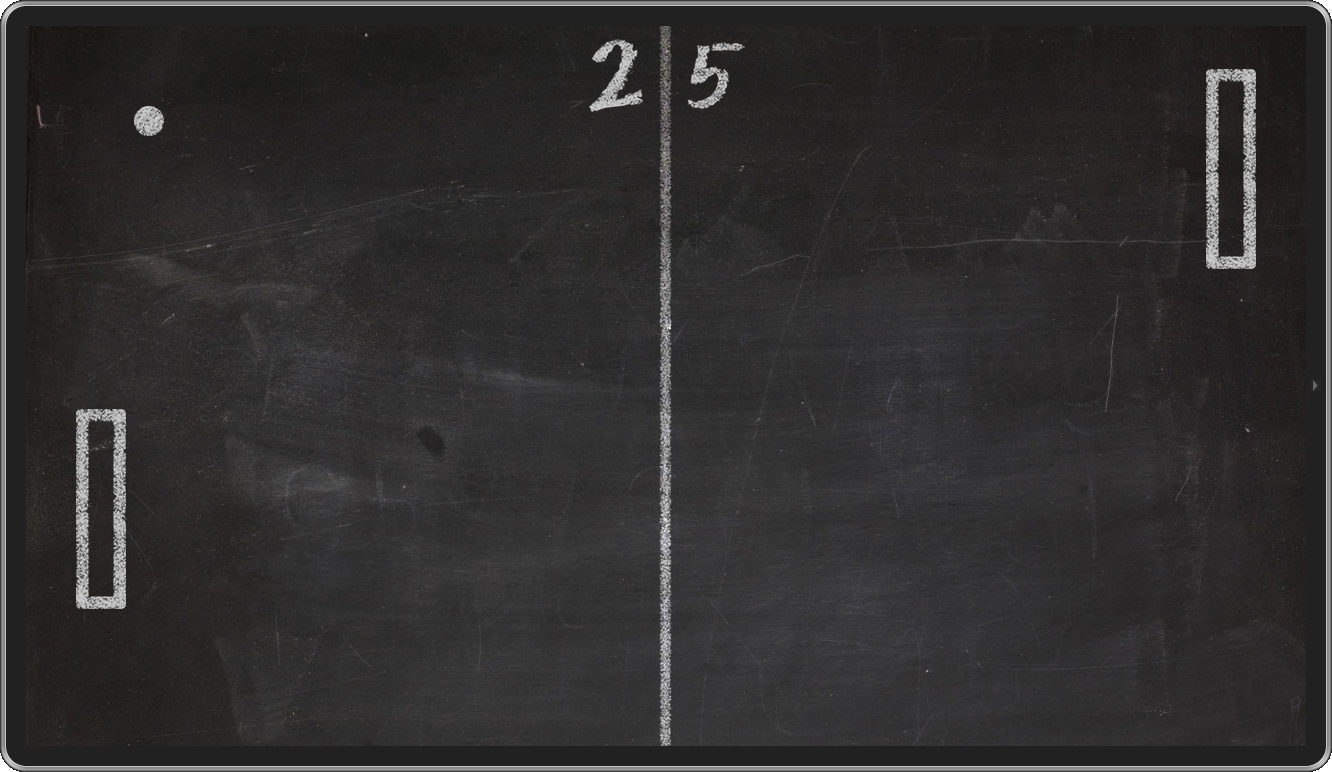
Sample application screenshot
After running the game you have to click big Play button in the center of the screen. It’s game for two players. Each player can control its pad by moving finger in his area. Game finishes when one of the players gets 9 points. Let’s investigate the most important parts of the application.
Handling touch events
We collect events by adding event listener to the window object.
window.addEventListener('touchstart', touchHandle, false);
window.addEventListener('touchmove', touchHandle, false);
window.addEventListener('touchend', touchHandle, false);
window.addEventListener('touchcancel', touchHandle, false);
To make things easier we store touch events in touches variable. We only collect points from the changeTouches points’ list. When touchend or touchcancel event is received the touches array is cleared. Very important thing is to prevent default behavior. Thanks to that, we will not be scrolling or zooming viewport by touching the screen.
var touches = [];
var touchHandle = function (e) {
    e.preventDefault();

    if (e.type === 'touchend' || e.type === 'touchcancel') {
        touches = [];
    } else {
        if (e.changedTouches.length > 0) {
            touches = [];
            for (var i = 0; i < Math.min(e.changedTouches.length, 2); i++) {
                touches.push({
                    x: e.changedTouches[i].pageX,
                    y: e.changedTouches[i].pageY
                });
            }
        }
    }
};
Now, that we have array with touch points, we have to pass them to proper Player depending on which area touch happened. We do it in step function of Player constructor. We just need to check Y property of touch point and make sure that it does not exceed edges of the player’s area.
// Calculate edges of the player's area.
var edges = {
    left: offset.left,
    top: offset.top,
    right: offset.left + $area.width(),
    bottom: offset.top + $area.height()
};

this.step = function (dt) {
    var self = this,
        touch, position;

    for (var i = 0; i < touches.length; i++) {
        touch = touches[i];
        if (touch.y >= edges.top && touch.y <= edges.bottom) {
            position = touch.x - (config.pad.width / 2);
            position = Math.max(0, Math.min(config.client.width - config.pad.width, position));
            self.setPosition(position);
        }
    }
};
Game loop and collisions
We have three constructors Player, Ball and Game. Two player objects and one ball object is created in Game constructor.
var p1 = new Player('p1-area', 'p1-pad');
var p2 = new Player('p2-area', 'p2-pad');
var ball = new Ball('ball');
The heart of the game is a game loop which is executed 60 times per second. It’s made in simplest possible way because it’s not in scope of this article. However, in production applications you would probably use requestAnimationFrame function to make sure that animation is executed with given amount of frames per second and to deliver the best user experience. Loop executes Game.step function 60 times per second.
this.init = function () {
    var self = this;

    timer = window.setInterval(function () {
        self.step(dt);
    }, dt * 1000);
};
The Game.step function executes step functions of each object, detects collisions and updates game’s UI.
this.step = function (dt) {
    var self = this;

    ball.step(dt);
    p1.step(dt);
    p2.step(dt);
    collisionsDetection();

    update();
};
The collisionsDetection function looks quite complicated but it just checks if the ball hit wall or pad. Hitting the wall or pad causes the ball to bounce. It’s achieved by flipping the ball’s velocity vector.
Summary
I hope that after reading this article you are now more familiar with touch events and you will be able to write your own applications using multi-touch features.