KnowledgeTest
PUBLISHED
Introduction
This article is aimed at developers who want to :
- Create multi page applications
- Create dynamic html elements (html elements are created using json)
- Use json and json parser in their applications
- Use third party libraries in Tizen web application eg: Timer: here we have used countdown timer as a third party library to achieve timer functionality
Advantages of dynamic html elements:
- Less coding efforts compared to static html
- Html page can be modified very easily - no need to explicitly write html elements for adding/deleting a component
Sample Quiz application, attached to this article, facilitates school kids develop their general knowledge. It is a web application with multiple choice questions. For multiple choices radio buttons are used. User can select only one answer. A countdown timer is implemented. The user has to give the answer within the specified time limit. When the user falls short of time, a message is displayed to notify the user about it. Once the time is over, the test is finished and the user can take the test again.
On the start of the application, the user can select one from three categories:
- Animals
- Birds
- Plants
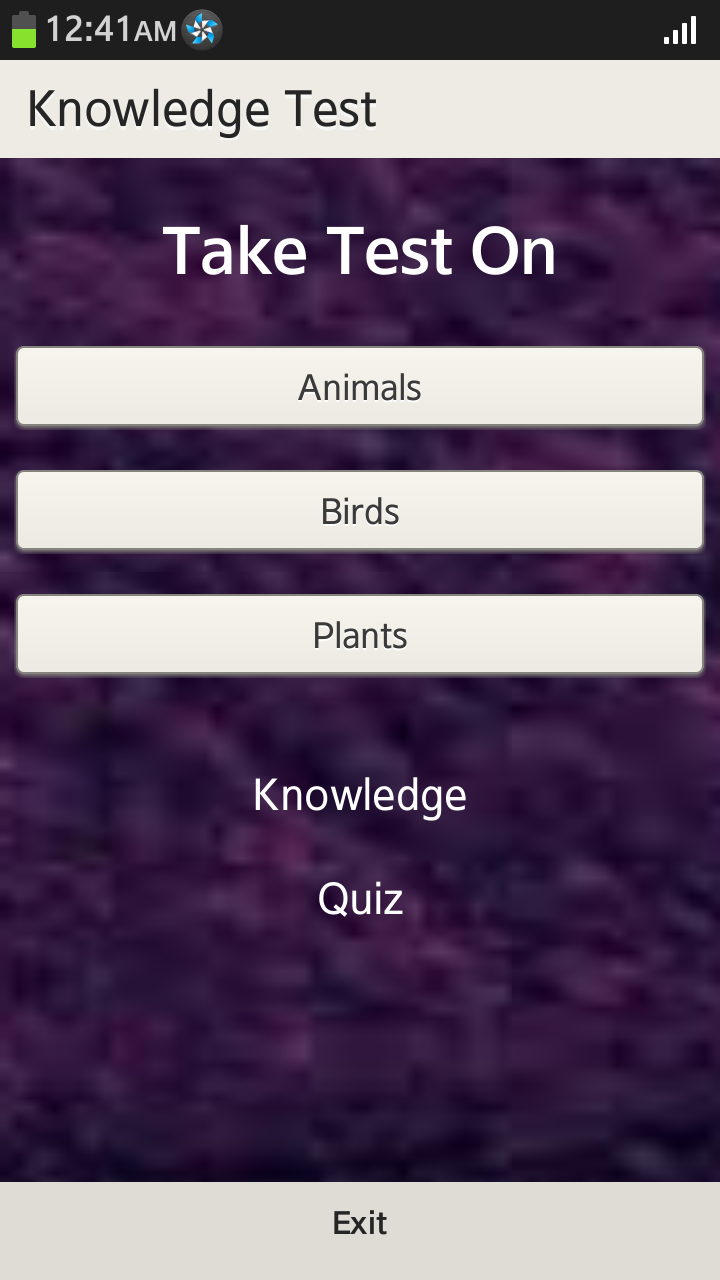
Fig 1: Main page of the app
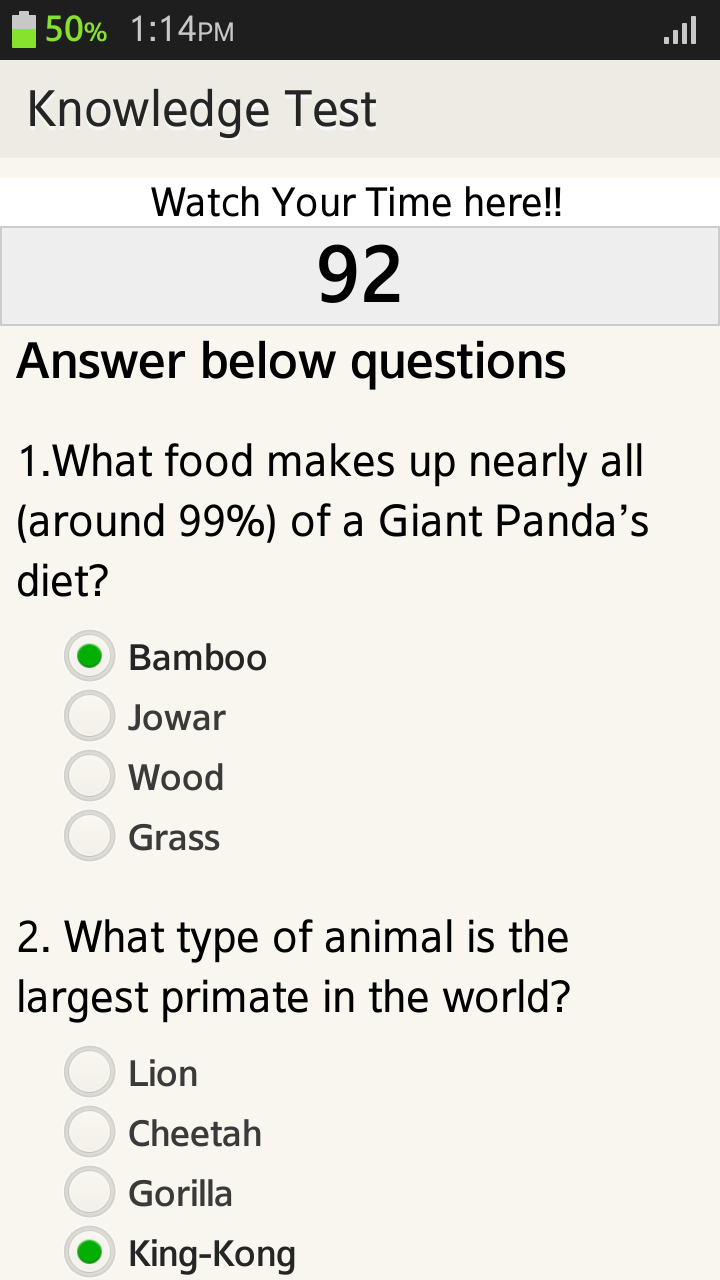
Fig 2: Animal quiz form
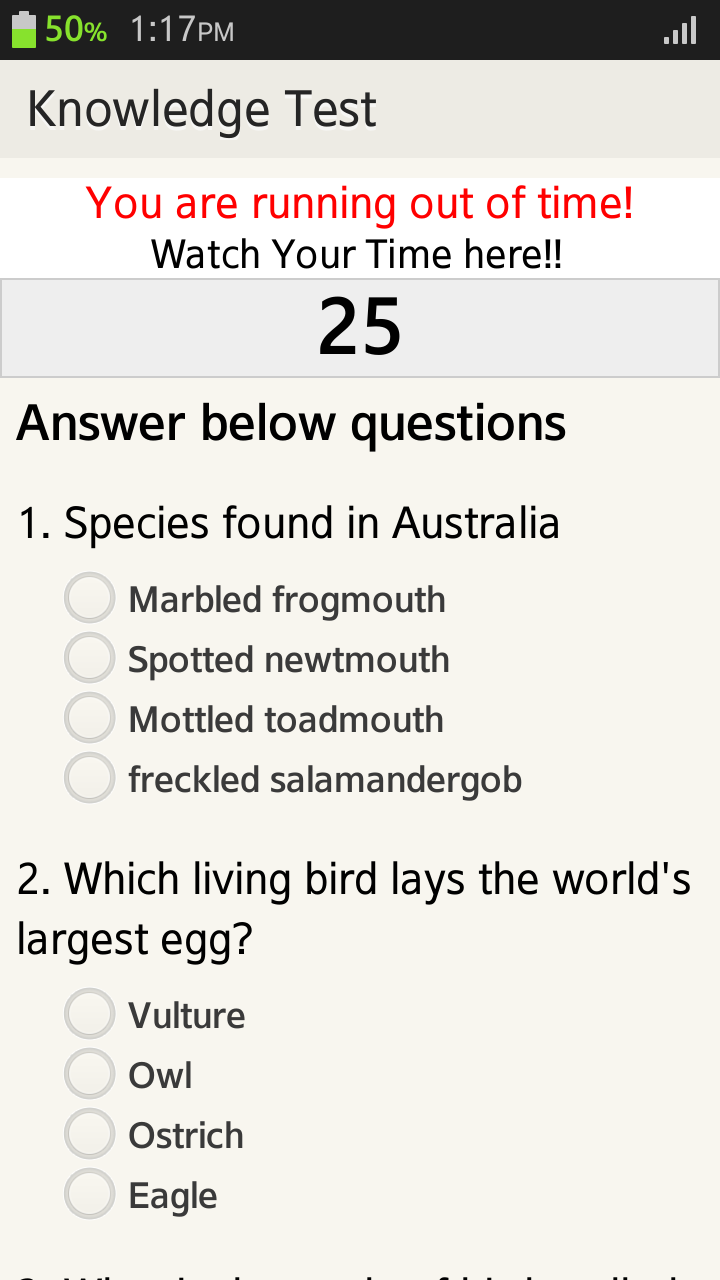
Fig 3: Birds Quiz
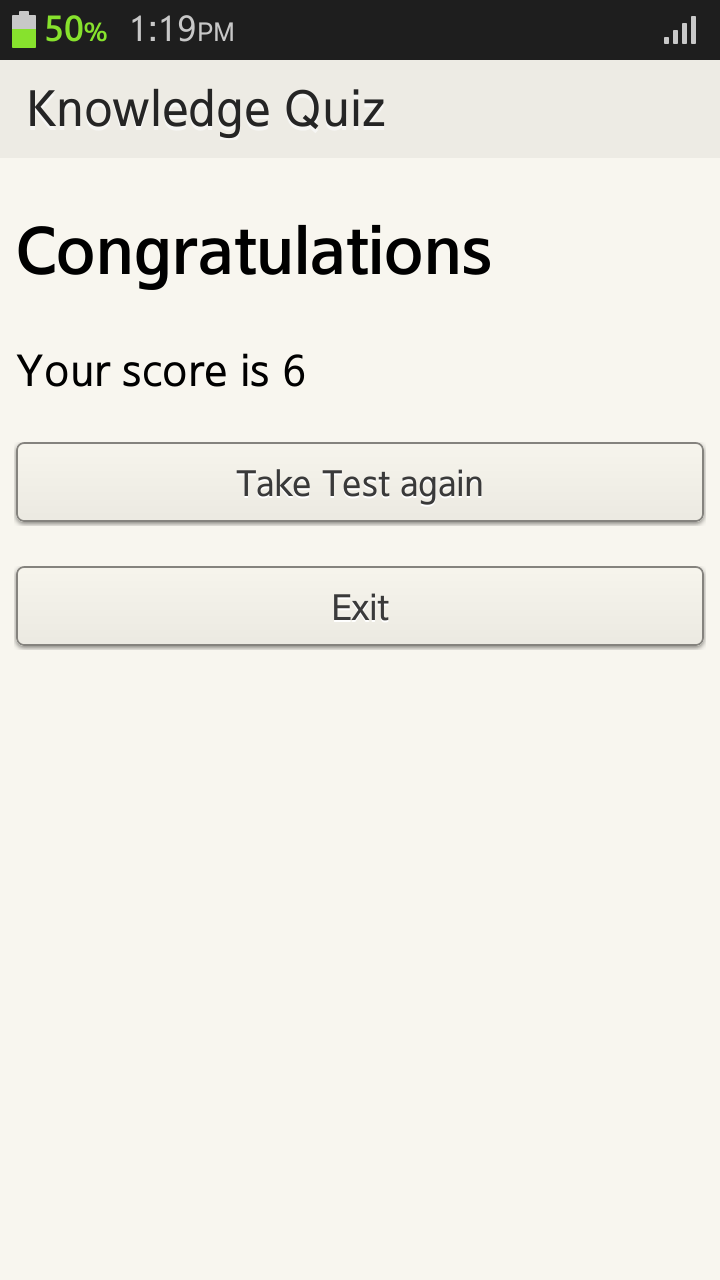
Fig 4: Score display
Implementation
Here is a brief description of how the Quiz application was implemented. We’ll show how to set up the timer, evaluate the selected answers via json parsing and display the score.
Json:
JSON(JavaScript Object Notation) is a light weight, text-based format, used for data interchange. It is language and platform independent. It is also easily human readable with key value pair format. JSON uses javascript syntax for data object description. Example json structure from our sample application (it’s a bit complicated, for easier example refer to www.w3schools.com/json):
{"questions":{ "animalQuestions" :[
 {
	"Question": "1.What food makes up nearly all (around 99%) of a Giant Panda’s diet?",
	"name":"animal1",
	"ids":["animal1-choice-1", "animal1-choice-2", "animal1-choice-3", "animal1-choice-4"],
	"labels":["Bamboo","Jowar","Wood","Grass"],
	"values":["Answer 1", "Answer 2","Answer 3", "Answer 4"],
	"Answer": "Answer 1"
	},
	{
	"Question": "2. What type of animal is the largest primate in the world?",
	"name":"animal2",
	"ids":["animal2-choice-1", "animal2-choice-2", "animal2-choice-3", "animal2-choice-4"],
	"labels":["Lion","Cheetah","Gorilla","King-Kong"],
	"values":["Answer 1", "Answer 2","Answer 3", "Answer 4"],
	"Answer": "Answer 3"
	},
        .   .   .
    ],

"birdQuestions":[
{
	"Question": "1. Species found in Australia",
	"name":"bird1",
	"ids":["bird1-choice-1", "bird1-choice-2", "bird1-choice-3", "bird1-choice-4"],
	"labels":["Marbled frogmouth","Spotted newtmouth","Mottled toadmouth","freckled salamandergob"],
	"values":["Answer 1", "Answer 2","Answer 3", "Answer 4"],
	"Answer": "Answer 1"
	},
	{
	"Question": "2. Which living bird lays the world’s largest egg?",
	"name":"bird2",
	"ids":["bird2-choice-1", "bird2-choice-2", "bird2-choice-3", "bird2-choice-4"],
	"labels":["Vulture","Owl","Ostrich","Eagle"],
	"values":["Answer 1", "Answer 2","Answer 3", "Answer 4"],
	"Answer": "Answer 3"
	},
       .   .   .
     ],
 }
}
There are JSON parsers and JSON libraries for many different programming languages. In our current jQuery api jQuery.getJSON() is used to parse JSON.
To get JSON data with an AJAX HTTP GET request we use jQery’s getJSON() method.
Syntax
$(selector).getJSON(url,data,success(data,status,xhr))
Parameter Description
url - Required. Specifies the url/filename to send the request to
data - Optional. Specifies data to be sent to the server
success(data,status,xhr) - Optional. Specifies the function to run if the request succeeds
Additional parameters:
data - contains the data returned from the server/json file.
status - contains a string containing request status ("success", "notmodified", "error", "timeout", or "parsererror").
xhr - contains the XMLHttpRequest object
JSON parsing example:
parseJsonQuestions = function(keyObject, formid, ansArr) {
$.getJSON("questions.json", function(data) {
	for ( var i = 0; i < data.questions[keyObject].length; i++) {
		var question = data.questions[keyObject][i].Question;
		var name = data.questions[keyObject][i].name;
	.  .  .
}
};
The above code snippet parses the json stored in file questions.json specified as url parameter. Notice that in the callback function, an object called “data” contains all the json data we need. keyObject is the name of questions array for each form (“animalQuestions”, “birdQuestions”, etc.).
Radio buttons
The structure of radio buttons used in our app looks like this (it corresponds to the json used in the examples above):
<fieldset data-role="controlgroup">
                <legend>2. What type of animal is the largest primate in the world?</legend>
                <input type="radio" name="animal2" id="animal2-choice-1" value="choice-1"/>
                <label for="radio-choice-1">Lion</label>
                <input type="radio" name="animal2" id="animal2-choice-2" value="choice-2"  />
                <label for="radio-choice-2">Cheetah</label>
                <input type="radio" name="animal2" id="animal2-choice-3" value="choice-3"  />
                <label for="radio-choice-3">Gorilla</label>
                <input type="radio" name="animal2" id="animal2-choice-1" value="choice-4"  />
                <label for="radio-choice-4">King-Kong</label>
</fieldset>
Now, we’ll show how to create radio buttons code dynamically. Here is the full version of the above mentioned parseJsonQuestions() function:
parseJsonQuestions = function(keyObject, formid, ansArr) {
var htmlQuestions = '';

$.getJSON("questions.json", function(data) {
	for ( var i = 0; i < data.questions[keyObject].length; i++) {
		var question = data.questions[keyObject][i].Question;
		var name = data.questions[keyObject][i].name;
	    .  .  . //read the json file
        htmlQuestions += '<fieldset data-role="controlgroup">';
        ansArr.push(answer);
        htmlQuestions += '<legend>' + question + '</legend>';
        <strong>for</strong> ( <strong>var</strong> j = 0; j < labels.length; j++) {
        htmlQuestions += '<input type="radio" name="' + name + "' id="'
                      + ids[j] + '" value="' + values[j] + '"/>';
        htmlQuestions += '<label for="' + ids[j]
                      + '" style="height:30px;">' + labels[j] + '</label>';
       }
       htmlQuestions += '</fieldset>';
 }
document.getElementById(formid).innerHTML = htmlQuestions;
 });
};
We create the html in htmlQuestions variable and then embed it in the proper form. Note that we also gather all the correct answers in ansArr variable.
Now, to read radio buttons values we can use syntax similar to this:
form = document.forms['animals'];
    for ( var i = 0; i < 4; i++) {
        if (form['animal1'][i].checked) {
            // do sth
        }
    }
Timer
In the sample application user has to answer all the quiz questions in a specified time. Therefore we used one of jQuery’s countdown plugins: jQuery Countdown. It is available under the MIT license. We used it to display a countdown timer showing how many seconds have left.
Setting up a simple countdown is very easy:
To refresh all the radio buttons in a form (with given id) we have to set attribute “checked” to false and call the refresh function:
refreshQuizPage = function(id) {
	for(var i =1; i<=10;i++){
		for(var j=1;j<5;j++) {
			$('#'+id+i+'-choice-'+j).attr("checked",false).checkboxradio("refresh");
		}
	}
}

$('#'+timerId).countdown({
              Until : 120,
	Format : 'S',
	Compact : true,
	onTick : trackTime,
           onExpiry : goToHomePage
});

function goToHomePage(){
	refreshQuizPage(pageId);
	$('#'+pageTimerId).countdown('destroy');
	$.mobile.changePage("#menu", {
		transition : "slideup"
	});
}
The timerId is the name of the div where we want to place the timer. We used the options:
- Until – time at which the countdown expires,
- Format – format for the countdown display (e.g. “YOW”, where Y – years, O - months, W – weeks, …, S –seconds),
- compact – compact/not compact form,
- onTick – callback invoked each time the countdown updates itself,
- onExpiry – callback invoked when the countdown expires
In our application, function "goToHomePage()" is called which will take the user back to the home(main) page
For more options, see the documentation.
We set a callback to be called every time the countdown is updated – trackTime(periods). It is used to show the time up message.
function trackTime(periods) {
if(periods[6]===30){
	alertMsgId.innerHTML = "You run out of time!"
  }
}
Note: This application can be extended to make it a client-server application where the questions and answers can be fetched from the server. Since here we have used json object to create html elements, the same json object can be used as a response object from server to create html elements.
Using the sample application:
- Deploy the application on the device
- Three categories will be displayed. You can choose one topic that you wish to explore (play the quiz)
- After selecting the category, a timer and the questions with multiple choice answers are displayed. You have to answer the questions in the given time and click on the submit button placed in the last section of the same page. A message will be displayed while you are falling short of time to complete the quiz
- View your score
- Take the test again, if you wish by clicking the “Take test again” (on any category) button in the score page
- Or Exit the application by clicking the Exit button
Summary:
This article shows how to create multiple page applications with dynamic html elements. Using json parsers and external timer is explained with a sample application