Chat Application
PUBLISHED
Overview
This article demonstrates how to create an XMPP-based chat application using the open source JavaScript library strophe. More information on the strophe library is provided in the Strophe.js document.
This article includes topics like chat application authenticating with a server, retrieving a contact list, opening a chat window, adding a contact and sending messages to contacts. All the information in this article is taken from the open source library, Conversejs
Introduction to Jabber Chat Application
XMPP (Extensible Messaging and Presence Protocol) was introduced by Jabber, an open source community, and is used as the communication protocol for instant messages. Today, most chat applications, like gmail, facebook, etc., follow this protocol.
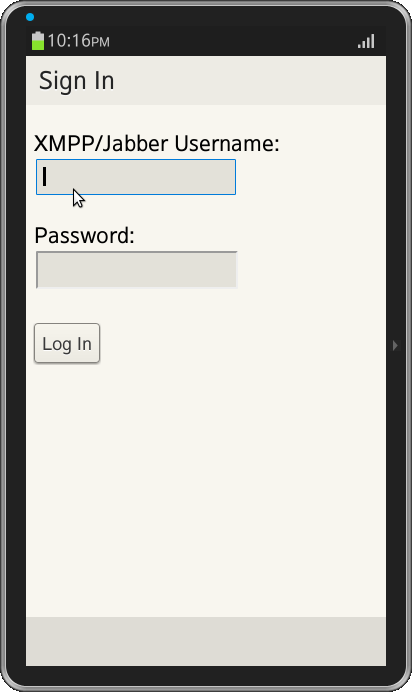
Jabber Login Page
On the login page, the user has to enter jabber credentials to log in. The user can register their account at the jabber site.
The html page for login page
The html code for logging in to the server is show below.
<div data-role="page">
  <div data-role="header" data-position="fixed">
    <h1>Sign In</h1>
  </div>
  <div data-role="content">
    </br>XMPP/Jabber Username:
    <input type="text" data-clear-btn="true" id="username" value="" class="ui-input-text ui-body-c">
    </br> Password:
    <input type="password" data-clear-btn="true" id="pwd" value="" class="ui-input-text ui-body-c"></br>
    <a data-role="button" data-mini="true" data-inline="true" id="login">Log In</a></br>
  </div>
  <div data-role="footer" data-position="fixed">
    <div id="status"></div>
  </div>
</div>
Javascript code for Login
The code below is used to connect to a server with credentials using strophe APIs. Once the user is connected to a server, all the authentication
challenges are handled by the strophe library. It returns the account contact vcard, along with their status, as shown in the screenshot below.
connection = new Strophe.Connection(service_url);
connection.connect(jid, password, $.proxy(function (status, message)
{
   console.log( "Status:"+ status + "Message:"+ message );
}
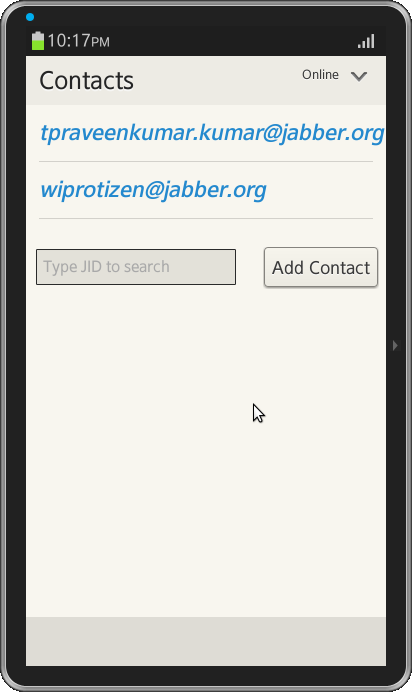
Contacts List
Once the user connects to server successfully, after authentication, the Strophe library requests contact details. The application has to register a callback to get the contact list.
Here’s the code for updating contacts on a web page:
connection.roster.registerCallback( $.proxy(rosterHandler ),  null, 'presence', null);
function rosterHandler (items) {
  this.items = items ;
  if( pageSHown == false){
     pageSHown =true ;
     $.mobile.changePage("#page2");
     $('#page2').add(display_contacts());
     function display_contacts(){
       $('contactsList').remove();
       var str='<ul data-role="listview" id="contactsList">';
       for(var i =0; i < items.length ;i++ )
       {
	  str+='<li id="CList"><i><a href="#chat_page">'+items[i].jid+'</a></i></li>';
       }
       str+='</ul>';
       $('#contacts').append(str).trigger("create").listview( );
       $(document).on("click","ul#contactsList > li", function(){
	  index = $(this).index() ;
	  var contact=$(this).text();
	  $('#chat_page').add(chatting(contact));
	});
     }
  }
}
Update Presence
User options for updating their presence status are: online, offline, busy, and away. If a user changes their presence status, this status will be
updated on the server and will be reflected in the contact’s chat application.
HTML code for selecting a presence
<div data-role="header" data-position="fixed">
  <h4>Contacts</h4>
    <div style="float: right;">
	<select data-mini="true" data-inline="true" data-corners="false">
	  <option> Online </option>
	  <option>Busy</option>
	  <option>Away</option>
	  <option>Offline</option>
	</select>
     </div>
</div>
JavaScript code for presence update
Using Strophe method $pres . and sends the presence information using connection manager method send.
function updatePresence(status_message)
{
  var  presence = $pres();
  presence.c('status').t(status_message);
  connection.send(presence);
}
Adding Contact
User can add any jabber user to this contact list. On adding contact, add notification will be sent to recipient. Until Recipient confirms the contact, status will be in pending state.
Html code for adding contact
The html code for adding contact in the contact list page is shown below.
<input type="text" placeholder="Type JID to search" />
<a data-role="button" data-mini="true" data-inline="true" id="addContact" style="float:right;top:-46px;">Add Contact</a>
JavaScript code for adding Contact
Javascript code for binding click event of “add” button is shown below. Once user enters some contact email id and clicks add button. The vcard details of contact is sent to the server using roster.add and roster.subscribe methods.
$("#addContact").click(function(){
    connection.roster.add(jid, jid, [], function (iq) {
    connection.roster.subscribe(jid, null, converse.xmppstatus.get('fullname'));
  });
});
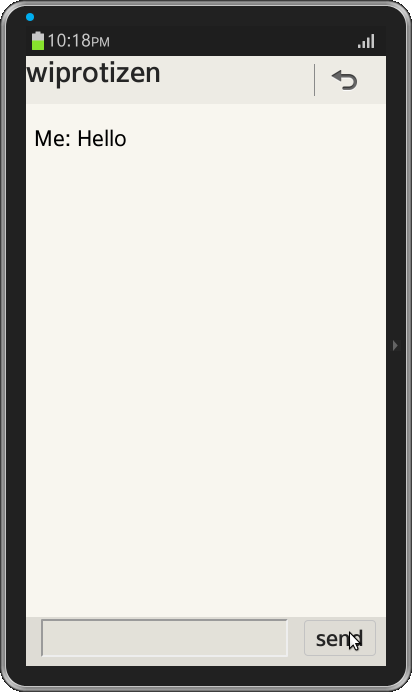
Sending Chat Messages
Html code for sending messages
The below is new page for chat messages. Once user clicks on any contact with page is opened where user can send messages. In footer a text input box and button is added as shown in below screen-shot.
<div data-role="page" data-add-back-btn="header" id="chat_page">
  <div data-role="header" data-position="fixed">
    <div id="chat_heading"></div>
  </div>
  <div data-role="content">
    <div id="chat_content">
    </div>
  </div>
  <div data-role="footer" data-position="fixed" id="footer">
    <input type="text" id="text" class="ui-input-text ui-body-c" size="25" />
	<div id="send">send</div>
  </div>
</div>
Javascript code for sending messages
JavaScript code for binding click event of “send” button is shown below. Once user enters some message and clicks send button. The message is replace added to the chat page and input field is cleared.
$("#send").click(function(){
  var text_message = $('#text').val() ;
  $('#text').val("");
  var string= "<p> Me: " + text_message + "</p>" ;
  $("#chat_content").append( string) ;
  sendMessages( text_message );
});
The code for sending message using strophe connection manager is shown below.
function sendMessages( text_message)
{
  if( text_message.length > 0)
  {
    var contact_jid = this.items[index].jid ;
    var timestamp = new Date().getTime();
    var to_jid = Strophe.getBareJidFromJid(contact_jid);
    var message = $msg({from: bare_jid, to: to_jid, type: 'chat', id: timestamp}).c('body').t(text_message).up().c('active', {'xmlns': 'http://jabber.org/protocol/chatstates'});
    var forwarded = $msg({to:bare_jid, type:'chat', id:timestamp}).c('forwarded', {xmlns:'urn:xmpp:forward:0'})	.c('delay', {xmns:'urn:xmpp:delay',stamp:timestamp}).up().cnode(message.tree());
    connection.send(message);
    connection.send(forwarded);
  }
}
Screenshots
Below is the screenshot of the Chat Application.
Was this document helpful?
We value your feedback. Please let us know what you think.