Managing Your Project
PUBLISHED
Visutal Studio makes it easy to build Tizen .NET applications. you can create a Tizen project, add a class library, register your certificate, build projects, and run and debug your applications.
If you want to get started quickly and learn the basics of Tizen .NET, please follow the guide to Creating Your First Tizen .NET Application.
Create a Project
To create a new project:
- In the Visual Studio menu, go to File > New > Project to open the New Project dialog.
- Select Blank App (Tizen Xamarin.Forms Portable).

- Check the Create directory for solution option.

- Click OK.
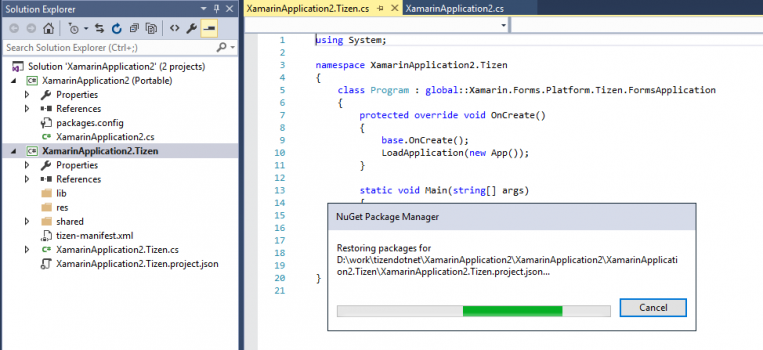
After the project is created, Visual Studio runs the NuGet Package Manager to download the required packages. Wait for a while, depending on your computer and network speed, until the packages have been downloaded.
Adding a Class Library and Manual NuGet Restore
To add a class library and restore NuGet manually:
- If you add a Class Library (Tizen) in Visual Studio, the editing window shows red wavy lines.

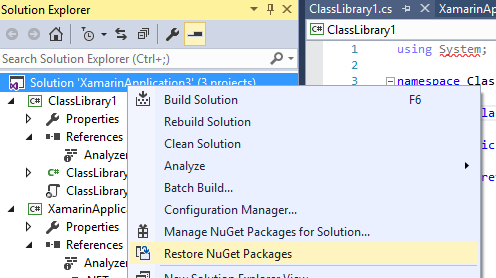
- Right-click the solution item in the Solution Explorer view and click Restore NuGet Packages.
Wait for the NuGet restoring to complete. Click the ClassLibrary project, and then click Refresh when the Refresh button appears.
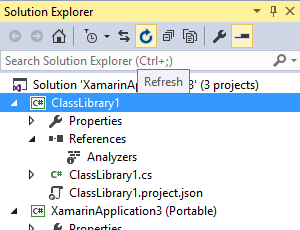
- The .NETStandard.Library shows up and the code looks clean.

The following figure shows warning messages that you can see in the Error List window when building the project. These can occur because the application is based on the Microsoft.NETCore.App and the Class library is based on NETStandard.Library, and the difference makes Visual Studio 2015 show a warning. However, it is OK to run the project, because the Microsoft.NETCore.App includes the NETStandard.Library set.
Figure: Warning messages

Modifying Certificate and Tool Settings
You can modify the certificate and tool settings.
Setting the Certificate Information
.tpk file generation, even when you want to use the default certificates without any change. This is going to be fixed in the next version.To set the certificate information:
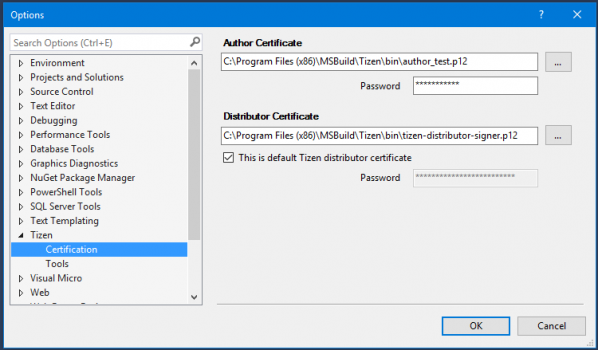
- In the Visual Studio menu, go to Tools > Options >Tizen > Certification.
- Click OK. You don't need to change anything.
- Note the passwords:
- For the author certificate, the password is author_test without the double quotation marks.
- Do not touch the distributor certificate password.
- To change the author certificate, click the ... button and select the file.
The creation of your own certificate is not yet defined, but you can use an existing certificate from the Tizen Studio.
Setting the Tizen Tools
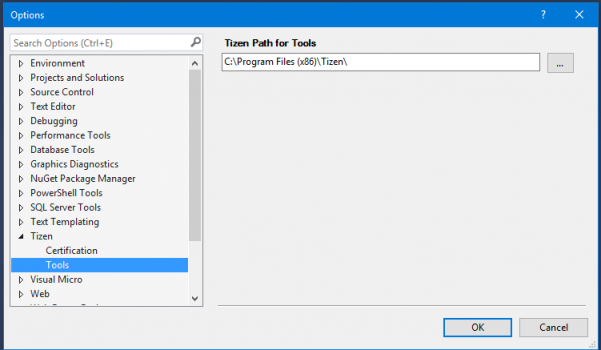
You can define the path to the Tools folder by going to Tools > Options >Tizen > Tools. Currently, the setting is used to get the sdb.exe file path.
Figure: Tools settings
Setting the NuGet Package Manager
To set up the NuGet package manager:
- Go to Tools > NuGet Package Manager > Package Manager Settings.
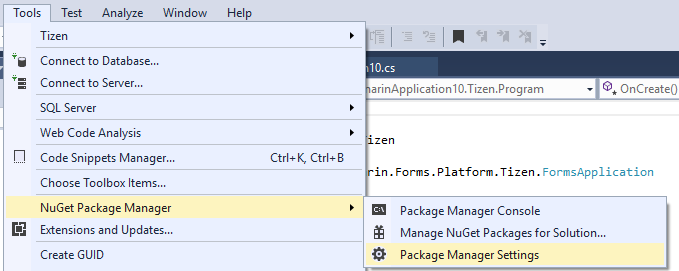
- Uncheck the Automatically check for missing packages during build in Visual Studio option.

Building the Project
To build a project:
- In the Visual Studio menu, go to Build > Build Solution.

- Set the certificate in Tools > Options, if you see the Invalid signing Certificate error, as in the following figure. For more information, see Setting the Certificate Information.

- The
.tpkfile is generated when the certificate is set and there are no errors.
- Set the certificate in Tools > Options, if you see the Invalid signing Certificate error, as in the following figure. For more information, see Setting the Certificate Information.
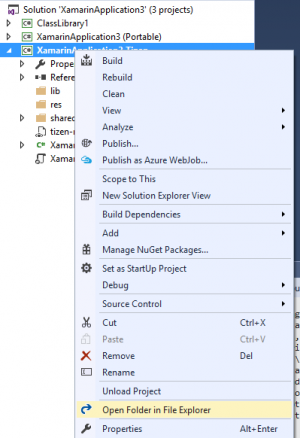
- Right-click the project item and select Open Folder in File Explorer.
- Open the
.tpkfile in thebin/Debugfolder.

- Inside the
.tpkfile, open thebin/Debug/packagingfolder to see the source of the.tpkfile.

- Install the
.tpkfile:- The
.tpkfile is installed for debugging when you click the debug start button (the button with a green triangle).The file installs after the build or after you have changed the debug device.
- Manual installation:
- Use the
cdcommand to go to the debug folder. - Use the
<path to sdb> install <TizenApplication>.tpkcommand to install the application. For example:c:\Program Files (x86)\Tizen\Tools\sdb.exe install XamarinApplication3.Tizen.tpk
- Use the
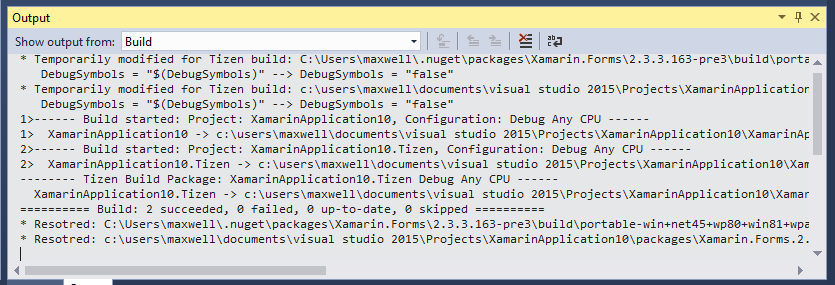
You get the following message:
* Temporarily modified for Tizen build: C:\Users\...\.nuget\packages\Xamarin.Forms\2.3.3.163-pre3\build\portable-win+net45+wp80+win81+wpa81+MonoAndroid10+Xamarin.iOS10+xamarinmac20\Xamarin.Forms.targets
   DebugSymbols = "$(DebugSymbols)" --> DebugSymbols = "false"
* Temporarily modified for Tizen build: c:\users\...\documents\visual studio 2015\Projects\XamarinApplication10\packages\Xamarin.Forms.2.3.3.163-pre3\build\portable-win+net45+wp80+win81+wpa81+MonoAndroid10+Xamarin.iOS10+xamarinmac20\Xamarin.Forms.targets
   DebugSymbols = "$(DebugSymbols)" --> DebugSymbols = "false"
The current Xamarin.Forms does not support .NET Core, which Tizen includes. For this reason, the Mono.Cecil assembly used by Xamarin.Forms has a problem with handling "portable" debug symbols used by .NET Core. The latest version of Mono.Cecil has fixed this problem, but it can take some time for Xamarin.Forms to include the fixed version.
To overcome the problem in Tizen Tools, as a work around, modify the
Xamarin.Forms.targetsfile a little so that it compiles. After the compiling has finished, it is restored to as it was before. This happens only when the Tizen project exists in the solution. A side effect of this action is that debugging codes related to XAML CS sources are not necessarily available with Visual Studio 2015. This action is removed when the fixed version Mono.Cecil is available to the public.The Automatically check for missing packages during build in Visual Studio option in the NuGet Package Manager can perform its actions after this change, so it is better to uncheck this option so that it does not restore while building.
- The
Running from Visual Studio
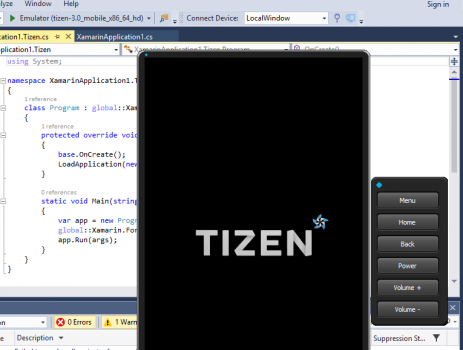
- Go to Tools > Tizen > Run Emulator to run the emulator.

- Click Reset Emulator in case of a kernel panic or any other problem.
Debugging a Project
To debug an application:
- Run the emulator in Tools > Tizen > Run Emulator, or click Launch Tizen Emulator.

Wait for the emulator to launch.
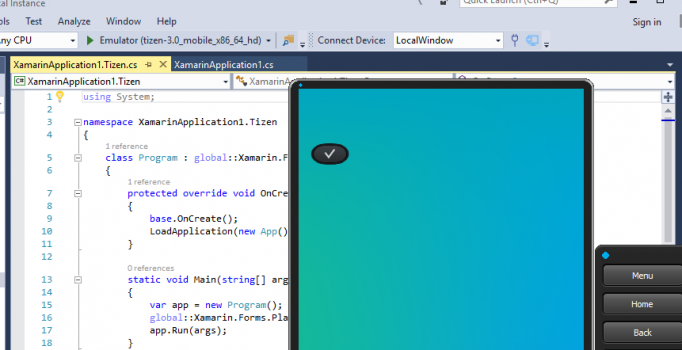
The Launch Tizen Emulator button changes to Emulator (tizen-3.0_mobile_x86_64_hd).
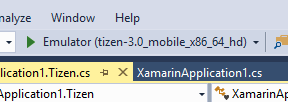
- Start debugging.
The debug functionalities are still in development.
- You can pause the code with a break point and see primitive values, such as an integer.
Add a breakpoint using the F9 key.

- Click Debug Start in the Emulator (tizen-3.0_mobile_x86_64_hd) view.
- Visual Studio builds the project if you have not built it or it needs building.
- The Tizen package file (
.tpk) must be installed after the build:

- If no changes were made, the installation does not happen.
- If you changed the connection with the device (emulator), the installation happens.
- The code pauses at the break point.

- Click Continue.
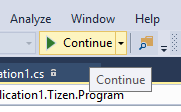
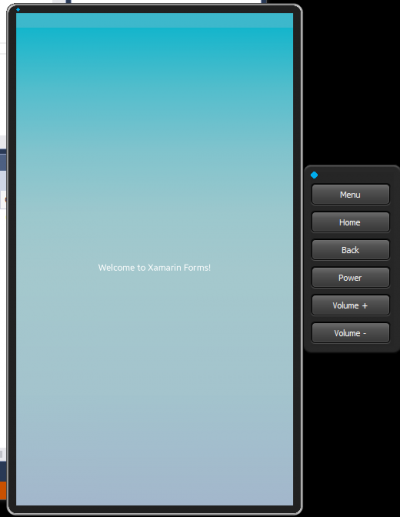
The application continues running on the emulator.
- Click Back on the emulator or Stop Debugging in Visual Studio to end the debugging process.


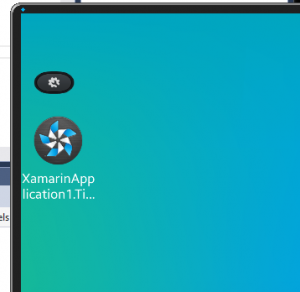
After the debugging is done, your application is available in the emulator and can be run again, as needed.
- You can pause the code with a break point and see primitive values, such as an integer.

