Using Parallax.js library in Tizen
PUBLISHED
Introduction
The parallax effect is very popular in modern websites and mobile applications. But what exactly is the parallax effect? In order not to quote the definition from the dictionary, in computer applications the parallax is difference in moving speed of objects being in different distances from the viewer. Objects farther away travels shorter distance than an object positioned closer to the viewer, when the viewer changes an observation point. To make it more visual, imagine a platform game where player moves from left to right and the map moves with him. The first layer of the map travels exactly the same distance as the player image. However background is moving much slower. This effect is not implemented in every platform game.
In the web, the parallax effect is mostly used in a header background image to make a visual appearance of an application much better. When user scrolls a page the header’s background image moves a little bit slower than the page itself.
Parallax.js library
The Parallax.js library helps you in creating a multi layers environment where the point of view can be changed using a mouse pointer or a gyroscope. The best example of its abilities is the Parallax.js official website. As you can see on this website, you can pan view by moving a mouse around or if you watch it on a smart phone just by rotating a device.
We will demonstrate usage of the Parallax.js library by doing simple application. In the picture below, you can see how it’s going to look like.
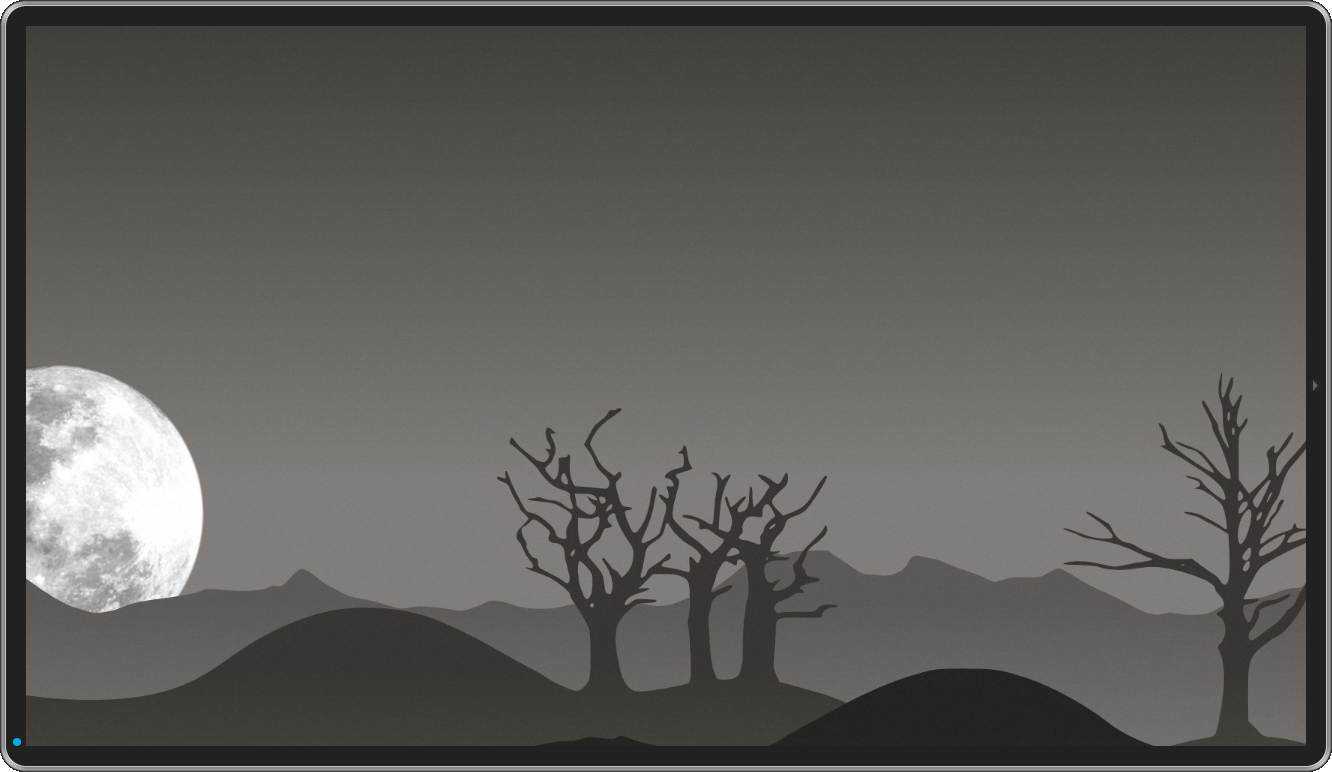
Sample application screenshot
The application’s environment consists of five layers. The most distant layer is a sky image which doesn’t move at all. Next is a moon layer which moves a little bit with change of point of view. Three additional layers are just landscapes that are displayed with different distances.
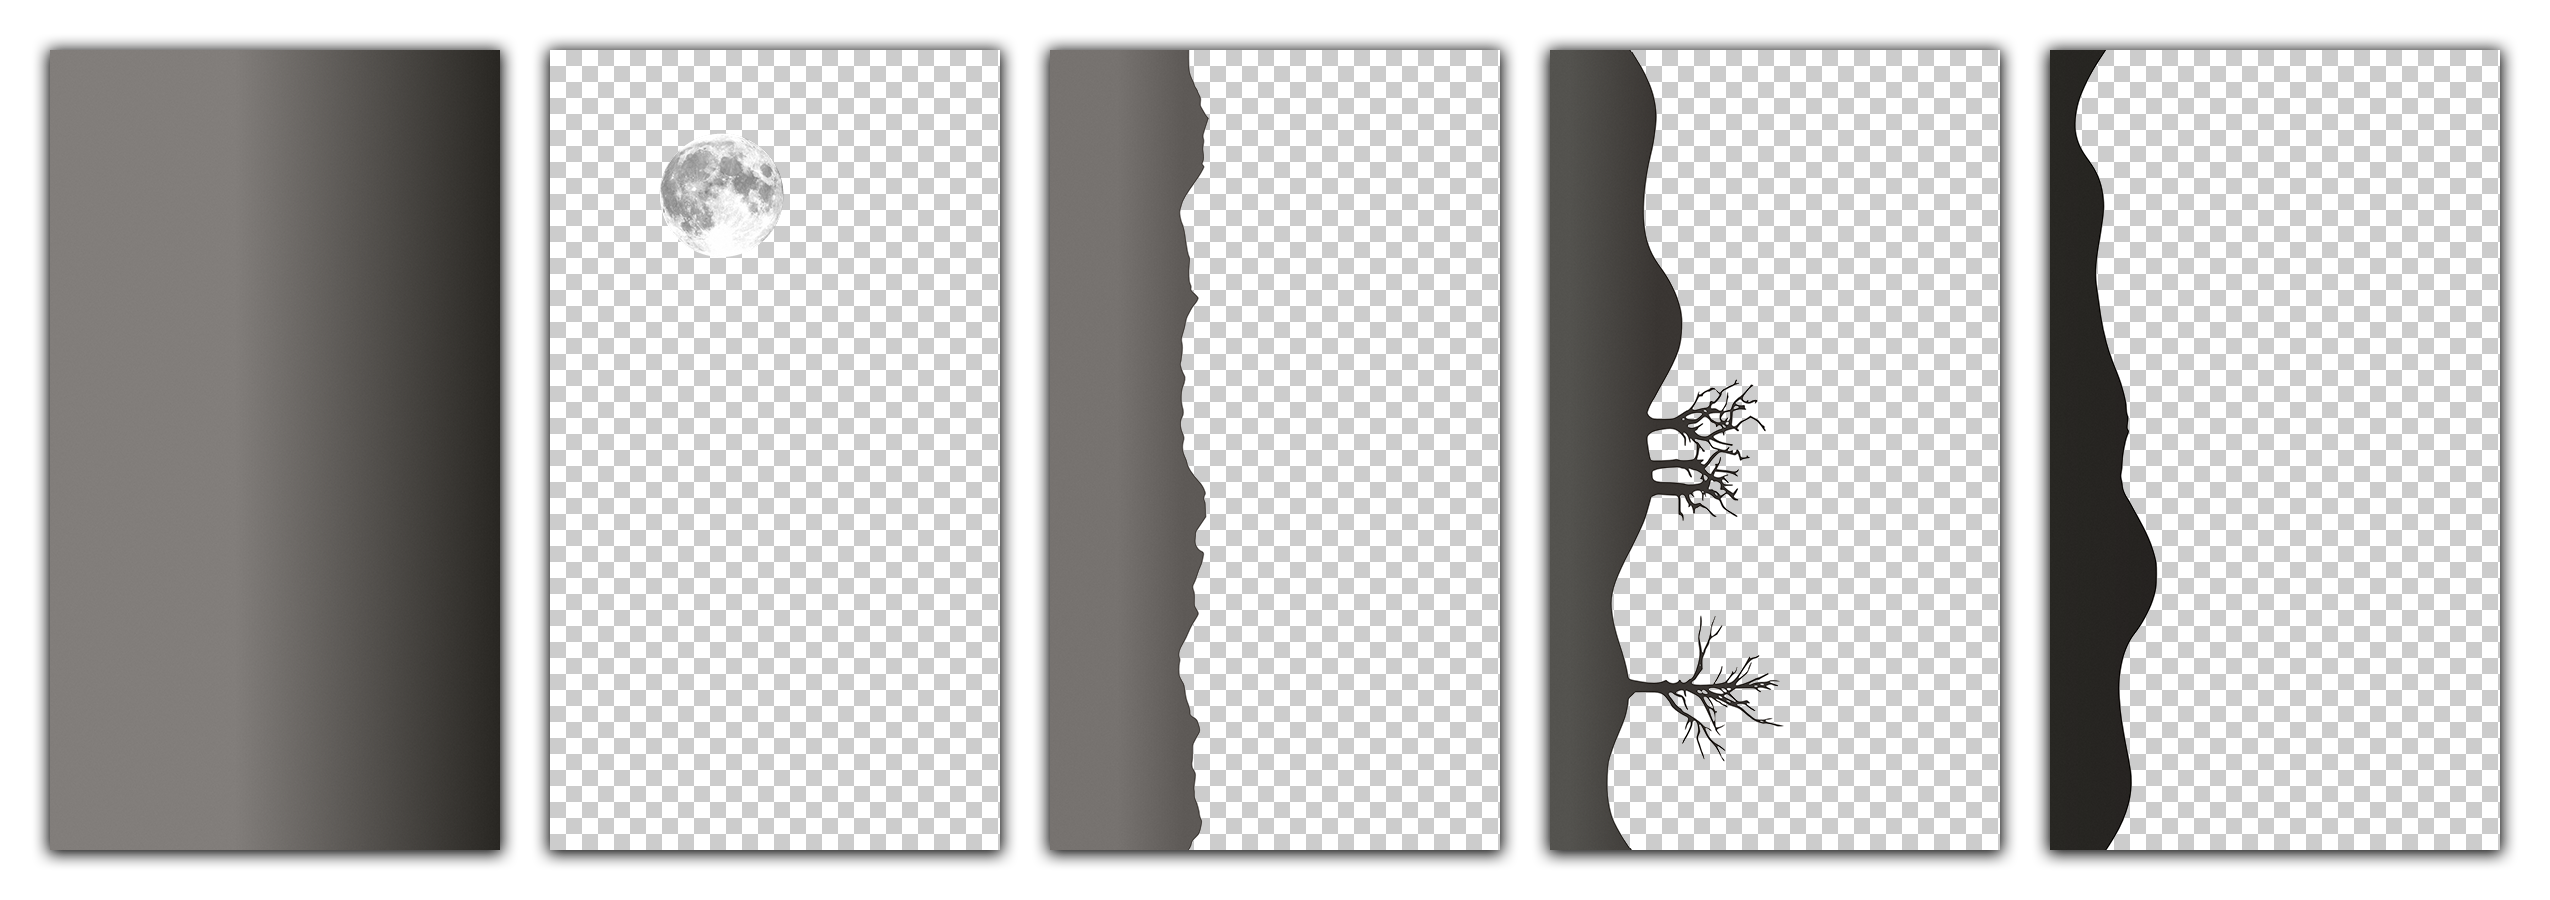
Layers’ images use in the sample application
Each layer is defined as a DIV element with the background set to given image. DIVs are placed in LI elements with the class layer.
<ul id="scene">
  <li class="layer" data-depth="0.00"><div style="background-image: url(./images/layer0.png);"></div></li>
  <li class="layer" data-depth="0.05"><div style="background-image: url(./images/layer1.png);"></div></li>
  <li class="layer" data-depth="0.20"><div style="background-image: url(./images/layer2.png);"></div></li>
  <li class="layer" data-depth="0.40"><div style="background-image: url(./images/layer3.png);"></div></li>
  <li class="layer" data-depth="0.60"><div style="background-image: url(./images/layer4.png);"></div></li>
</ul>
The layer class defines how layers should be displayed on the screen. We’ve expanded each layer to screen’s maximum size and the image inside of each layer is set to 200% width and height of its parent. Without setting them to 200% we would see white background when changing the point of view.
.layer {
  position: absolute;
  width: 100%; height: 100%;
}

.layer div {
  position: absolute;
  width: 200%; height: 200%;
  left: -50%; top: -50%;
  background-position: center;
  background-size: 75%;
}
As you can see in previous listing with HTML code, each LI element has additional data-depth attribute. This attribute tells Paralax.js how far from the viewer given layer should be displayed. The value of 0 means that it’s static and shouldn’t move at all. The value of 1 means that given layer is in the closest possible distance from the viewer and the distance by which layer is moved when panning is the highest from the layers.
There is only one more thing we have to do to make it work. It’s adding a little bit of JavaScript. First we have to include proper files at the end of the BODY element.
<script src="./js/raf.js"></script>
  <script src="./js/parallax.js"></script>
  <script src="./js/main.js"></script>
</body>
The raf.js file provides a cross browser compatibility for the requestAnimationFrame function. Next file is parallax.js which of course includes our library and main.js file with the starting instruction for Parallax.js.
var scene = document.getElementById('scene');
var parallax = new Parallax(scene, {
  scalarX: 20,
  scalarY: 20,
});
In the listing above, we get the scene object that holds all the layers and create new Parallax object. We’ve provided scalarX and scalarY options to make panning more visible. Other options that we can pass are as follows: calibrateX, calibrateY, invertX, invertY, limitX, limitY, frictionX, frictionY, originX, origin. You can read what they mean in the official documentation.
That’s it, all you have to do to run Parallax.js library in your project. Now build application and have fun playing it around.
Summary
This article is just an example of how to use Parallax.js library on the Tizen platform. We encourage you to read more about library in the official documentation and try to create more parallax effects in your applications.